Managing Your Projects
Managing your projects is the backbone of the PaaS.sh platform. A project represents a complete Odoo application environment. In this guide, we will take it step-by-step to prepare your infrastructure and deploy your very first project.
1. Create and Prepare a Server
The first step before creating a project is to ensure you have a server ready to host it. Generally, there are two approaches to setting up a server on PaaS.sh: provisioning a new cloud server directly through us, or connecting your own existing server (BYOS - Bring Your Own Server).
Since this is a getting-started guide, we will dive into connecting an existing server.
-
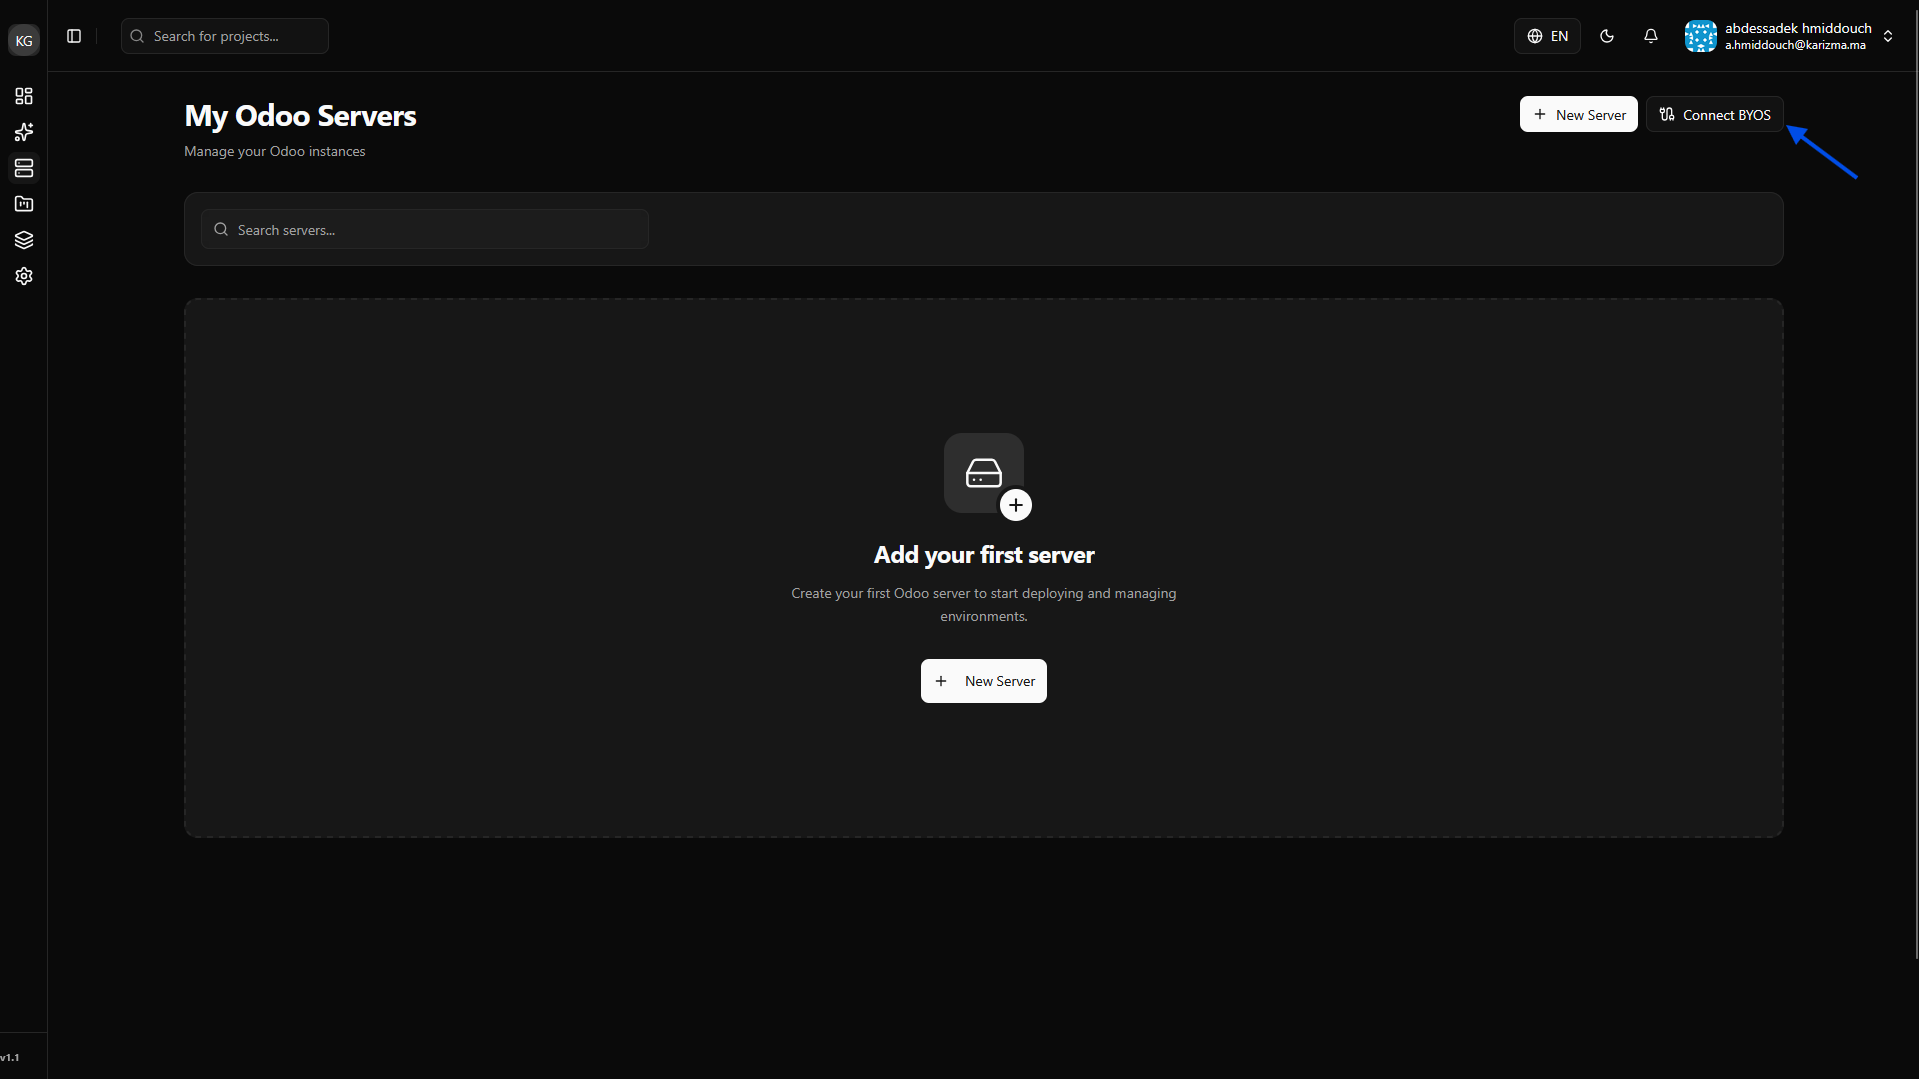
Navigate to Servers: Go to the Servers page from your left-hand sidebar.

-
Initiate BYOS: Click on the Connect Server (BYOS) button to link your external infrastructure.
-
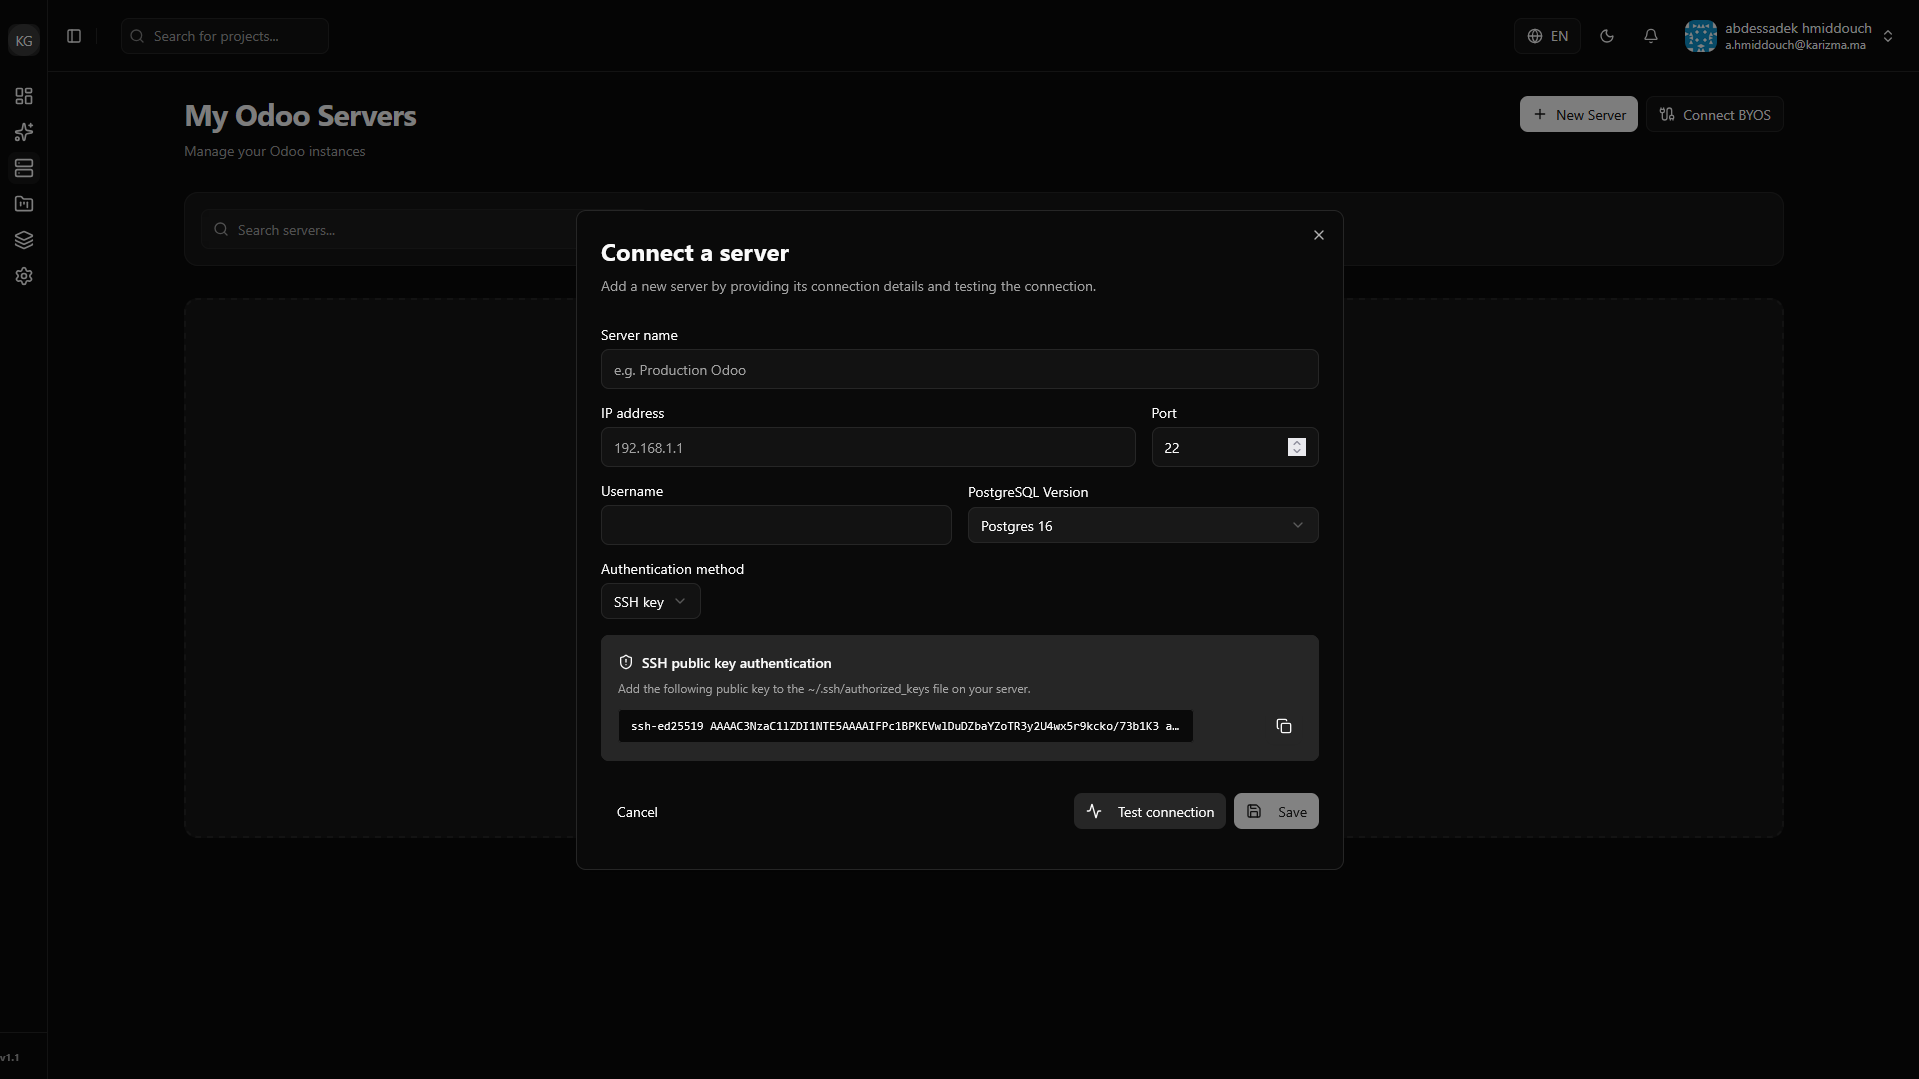
Fill in Server Details: Enter the required information, such as the server IP and connection credentials.
 Authentication Methods
When connecting your server, you can choose between two methods for authentication: using a secure SSH Key (recommended) or via a standard Password.
-
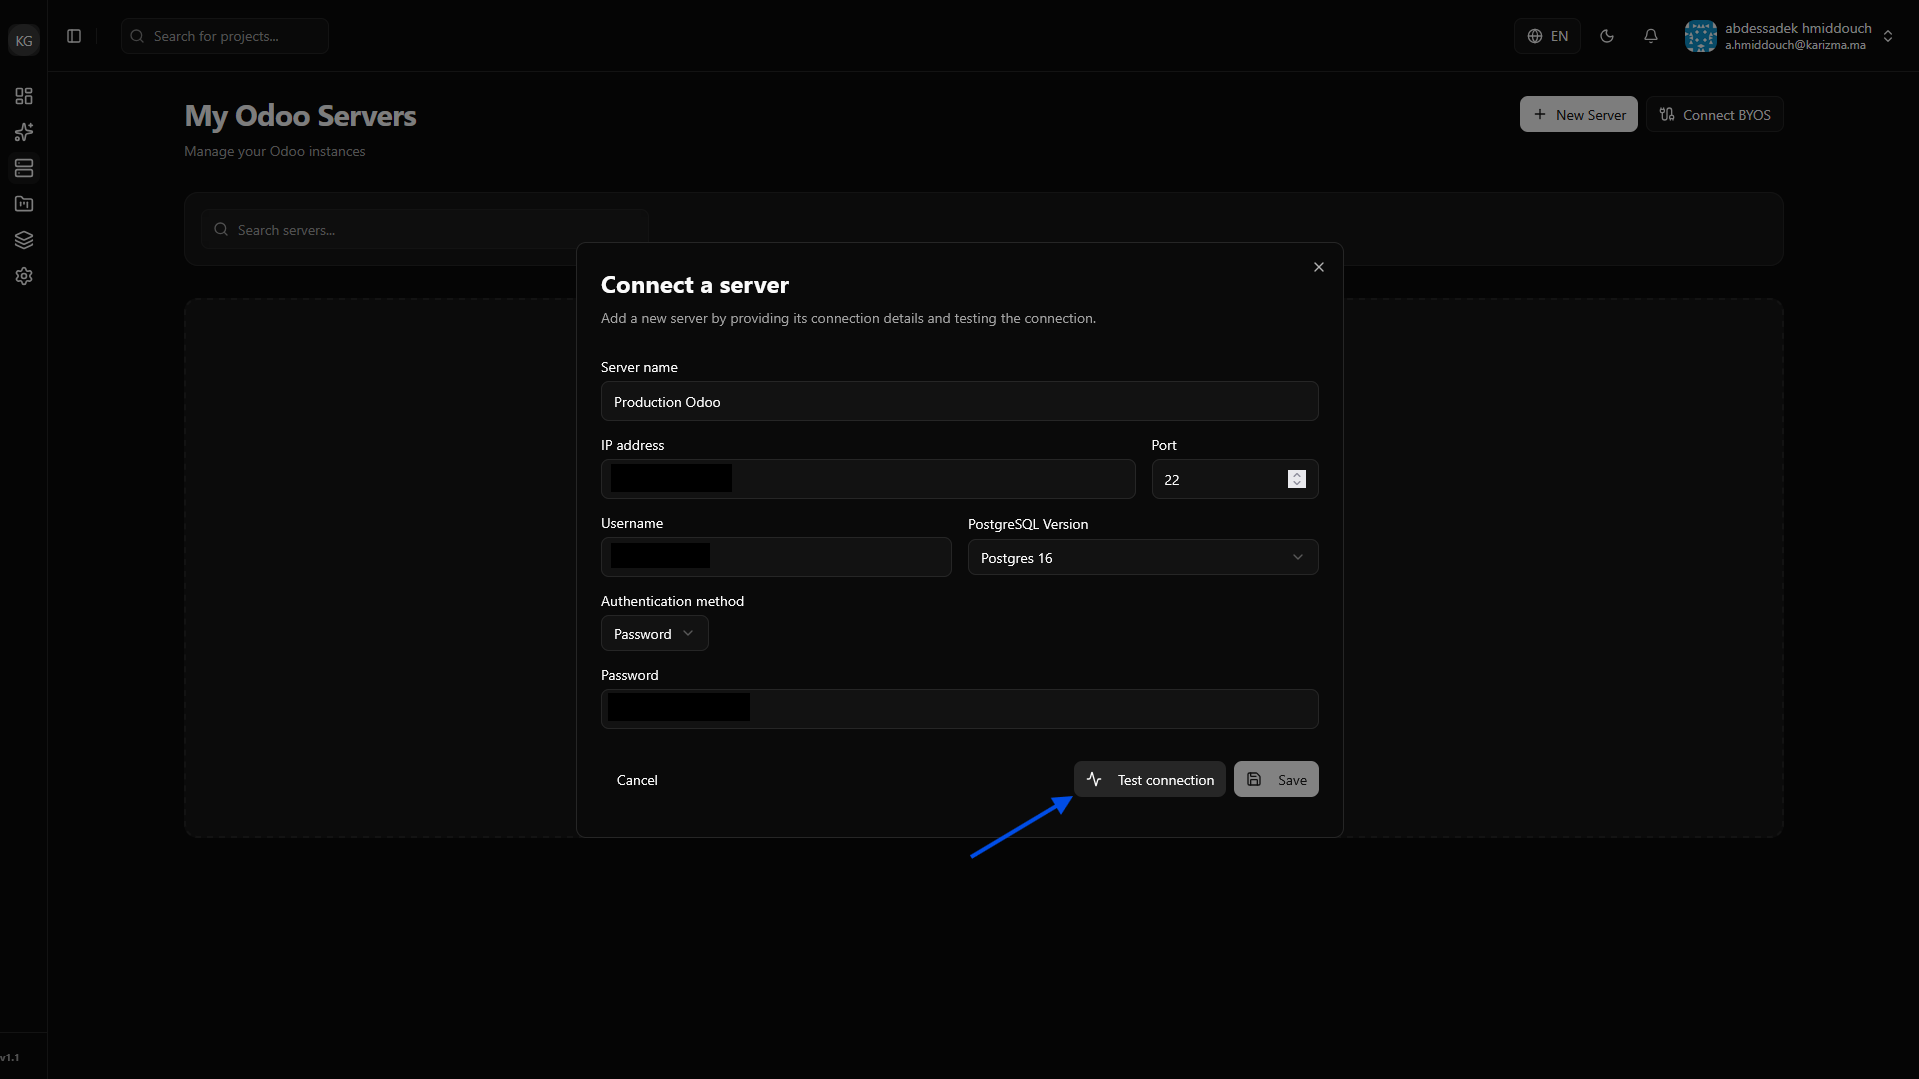
Test the Connection: Before saving, click the Test Connection button to ensure PaaS.sh can successfully communicate with your server.
-
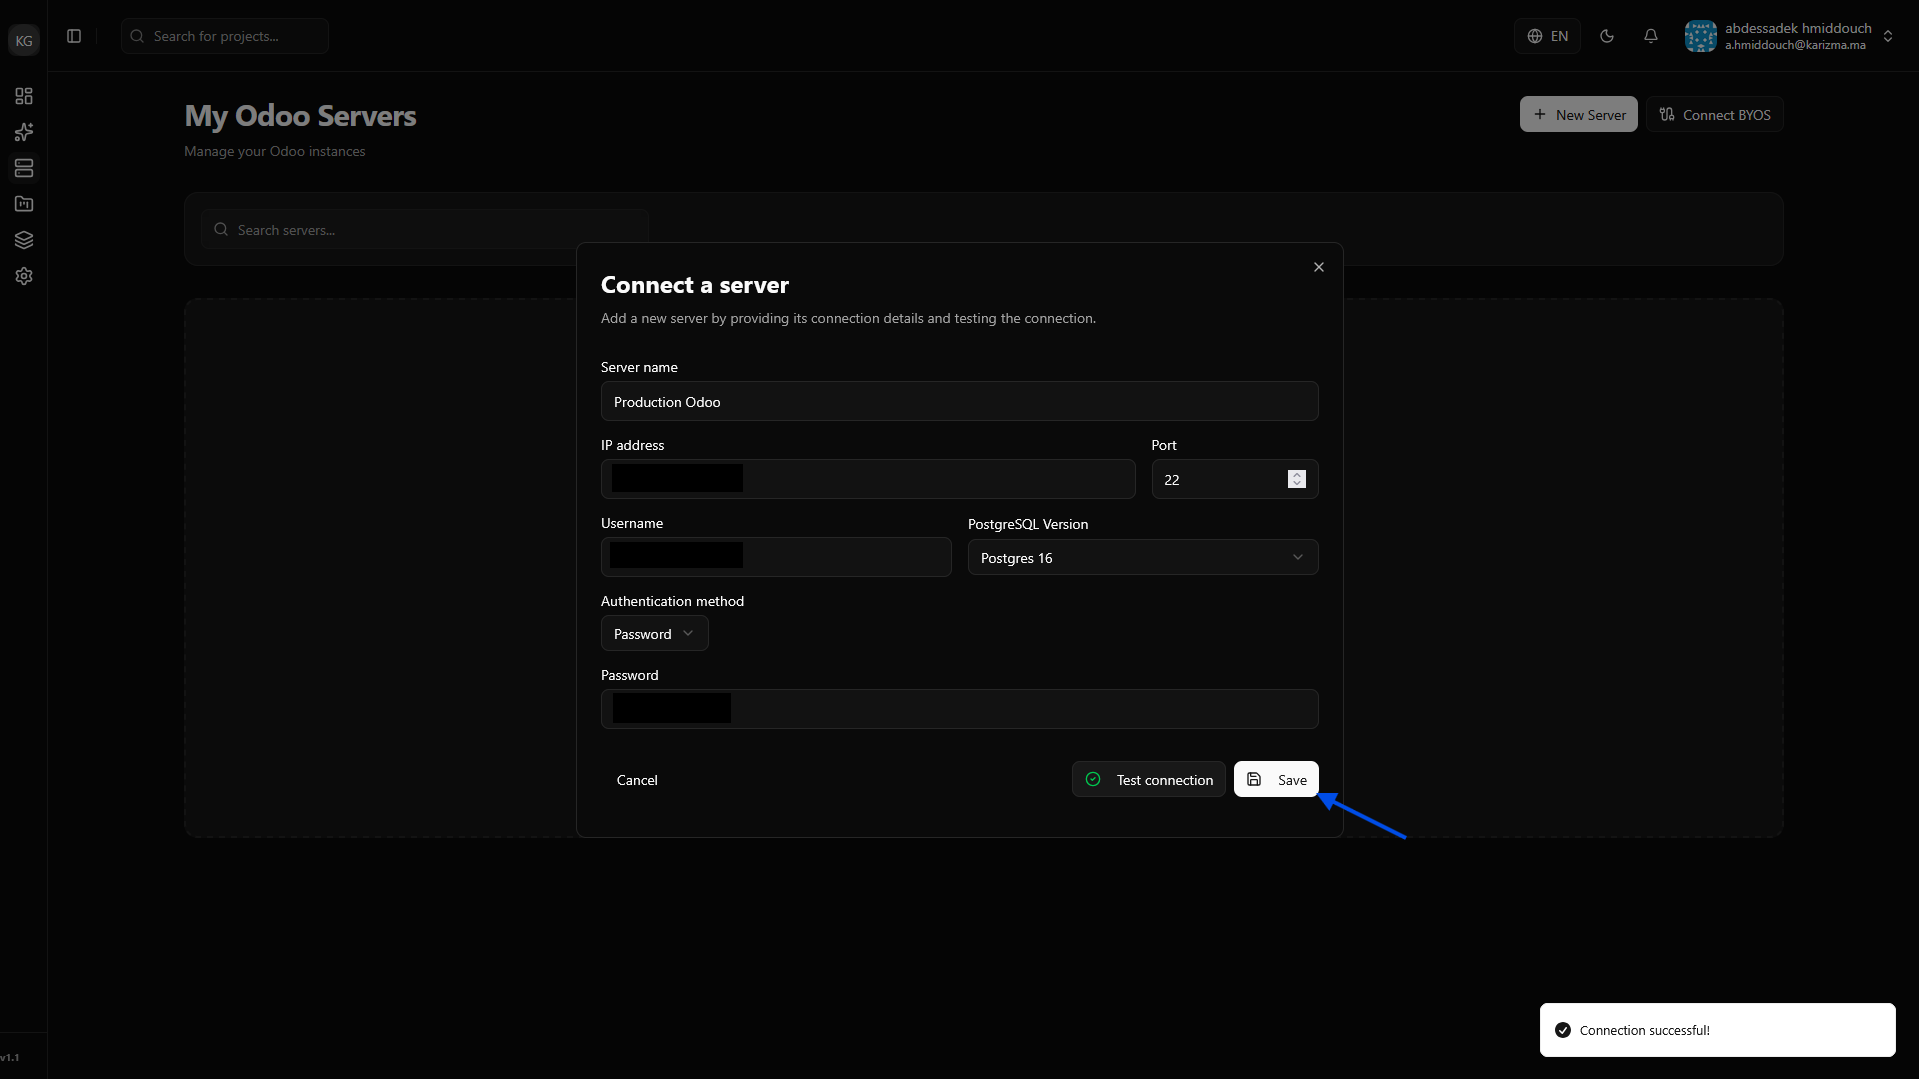
Save the Server: If the connection test passes successfully, the save option will become available. Click it to add the server to your workspace.
-
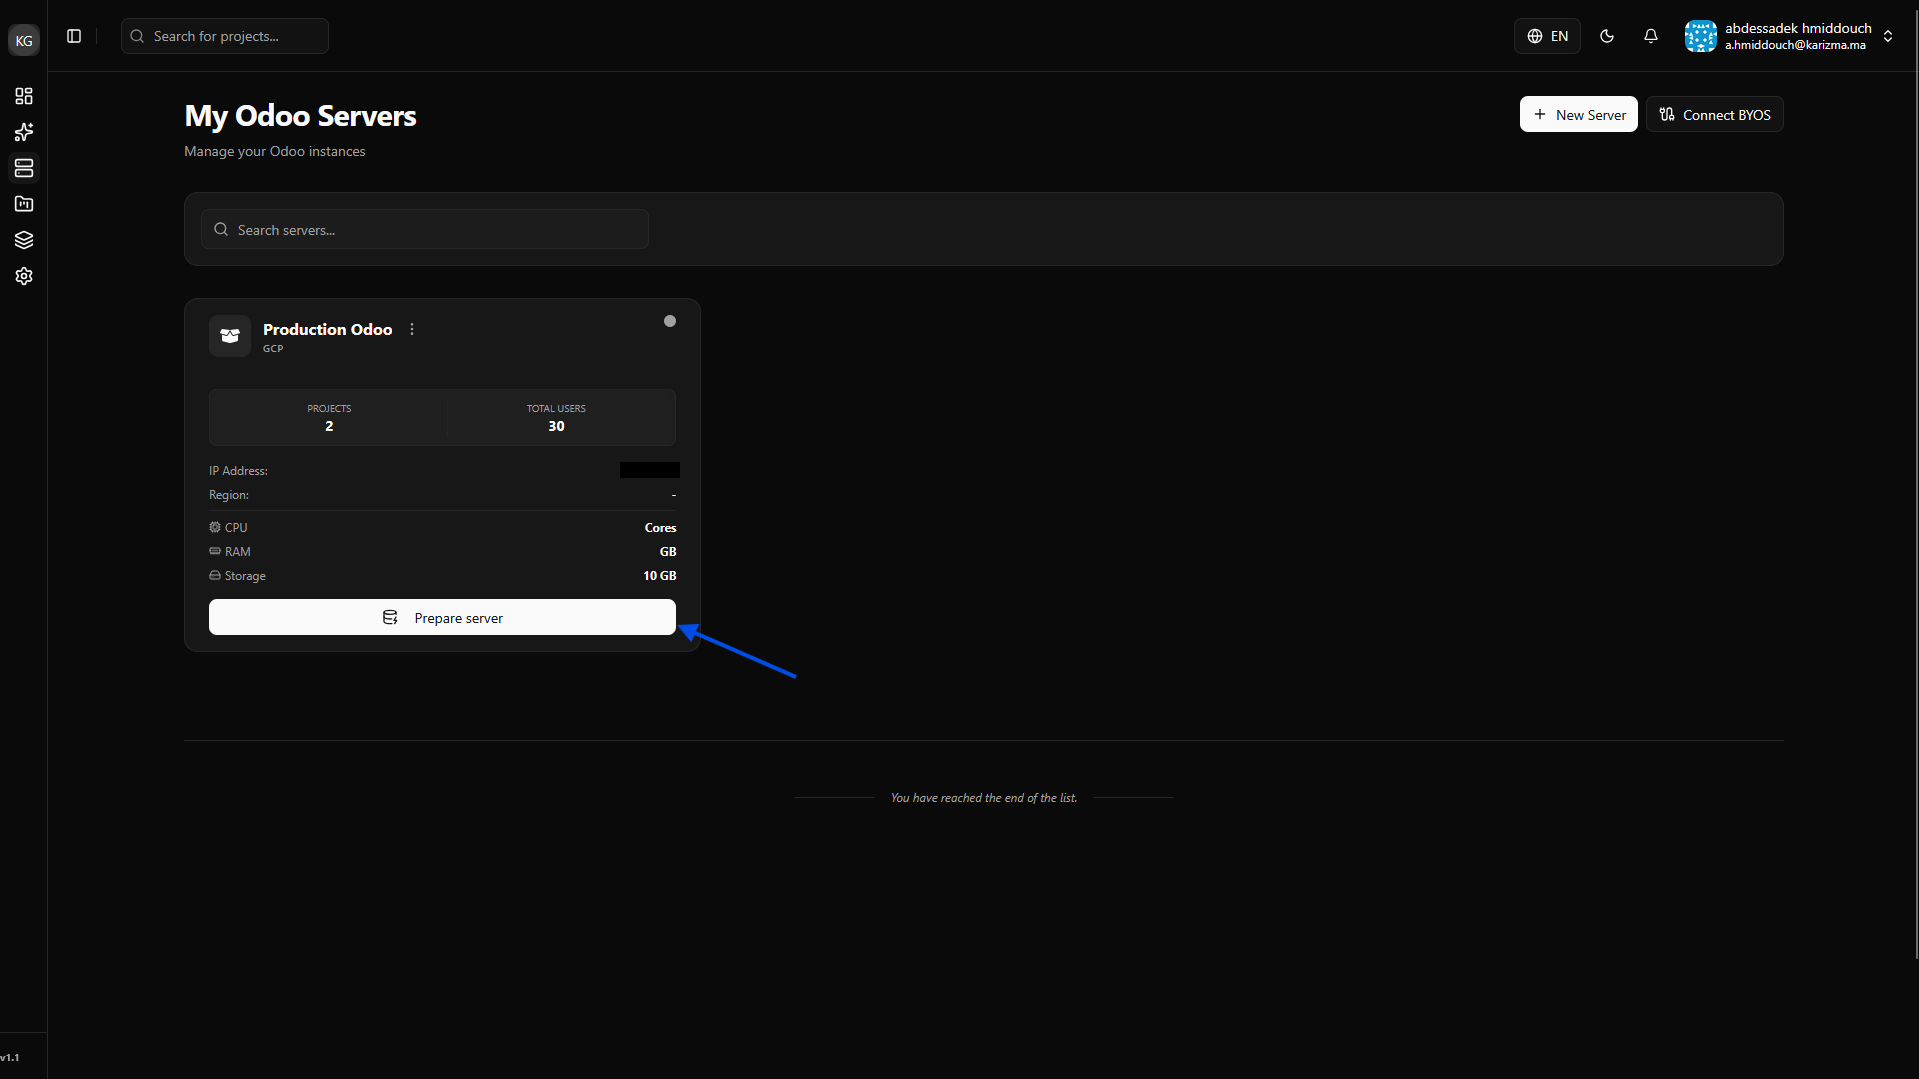
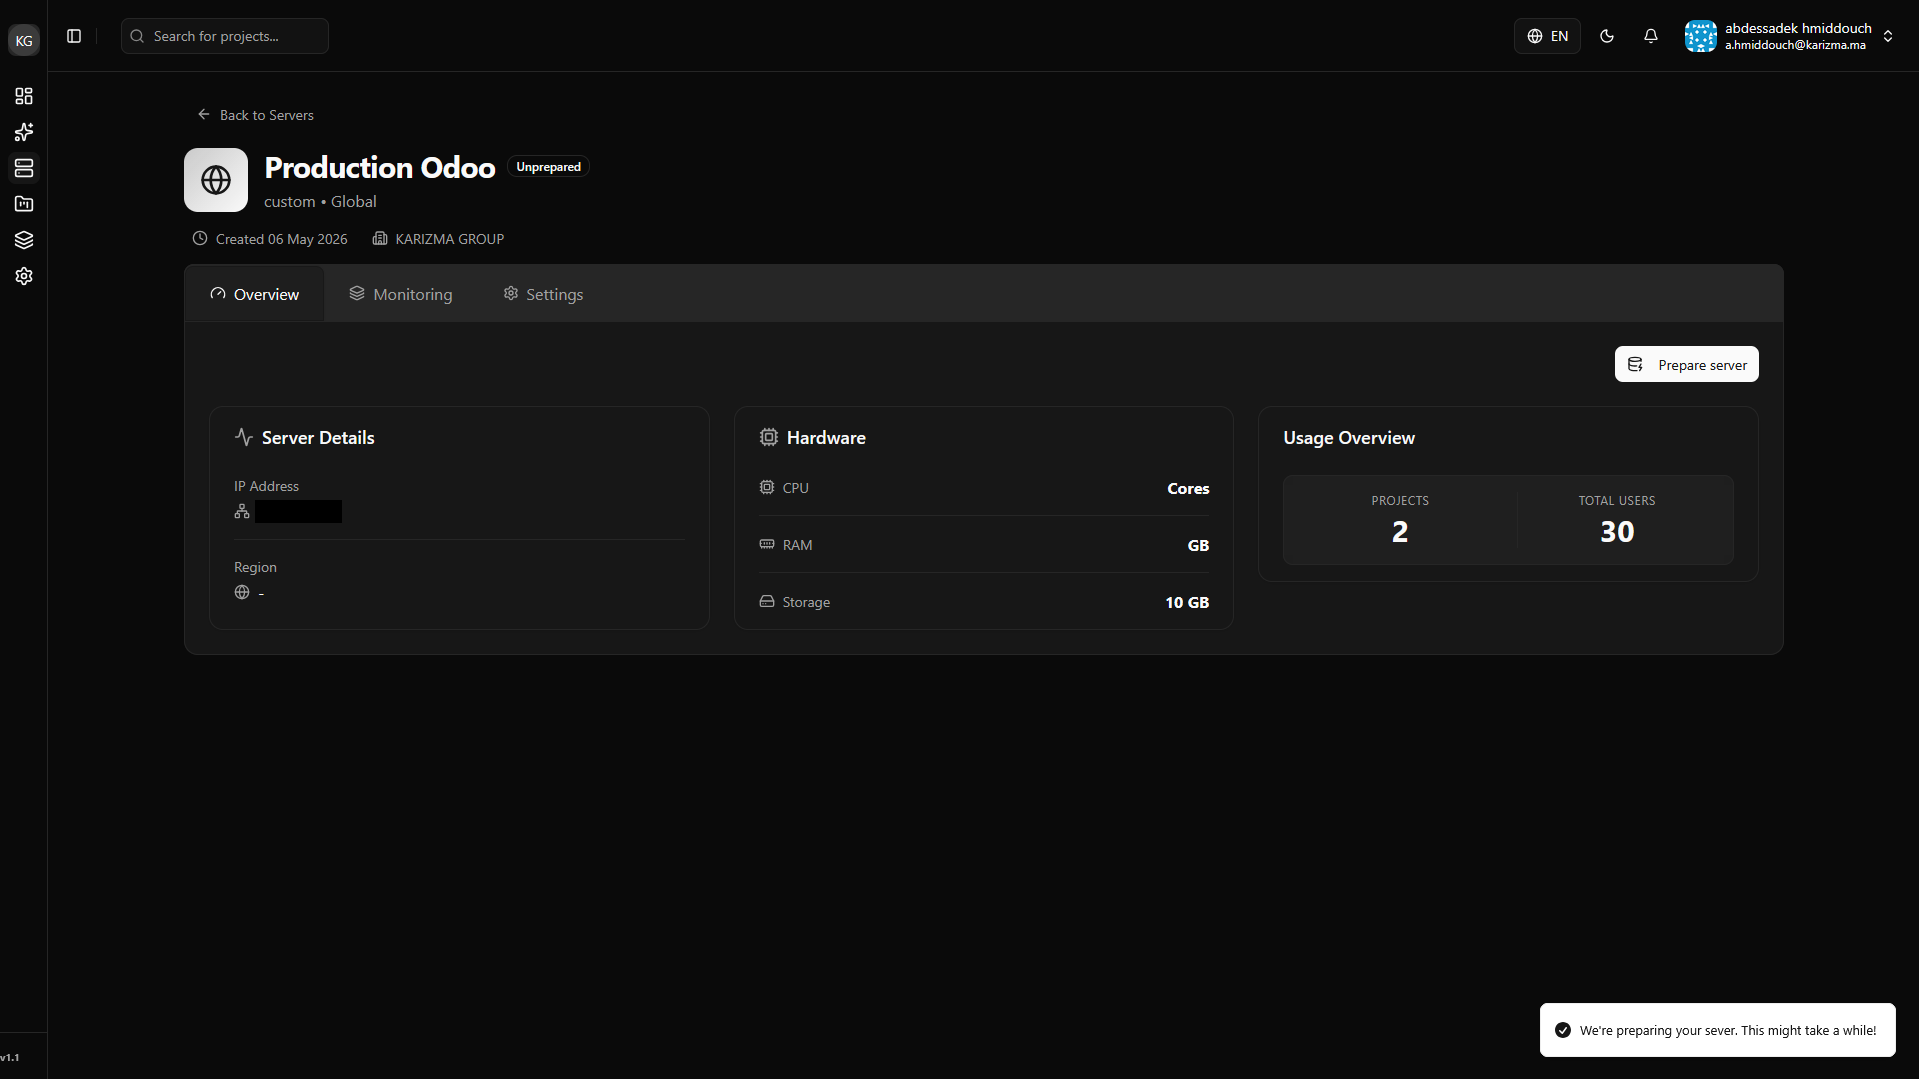
Prepare the Infrastructure: You will now see your server in the list, but its status will be marked as Unprepared. Click on Prepare Server to allow PaaS.sh to automatically install the required infrastructure and dependencies for Odoo (like Docker, PostgreSQL, etc.).
-
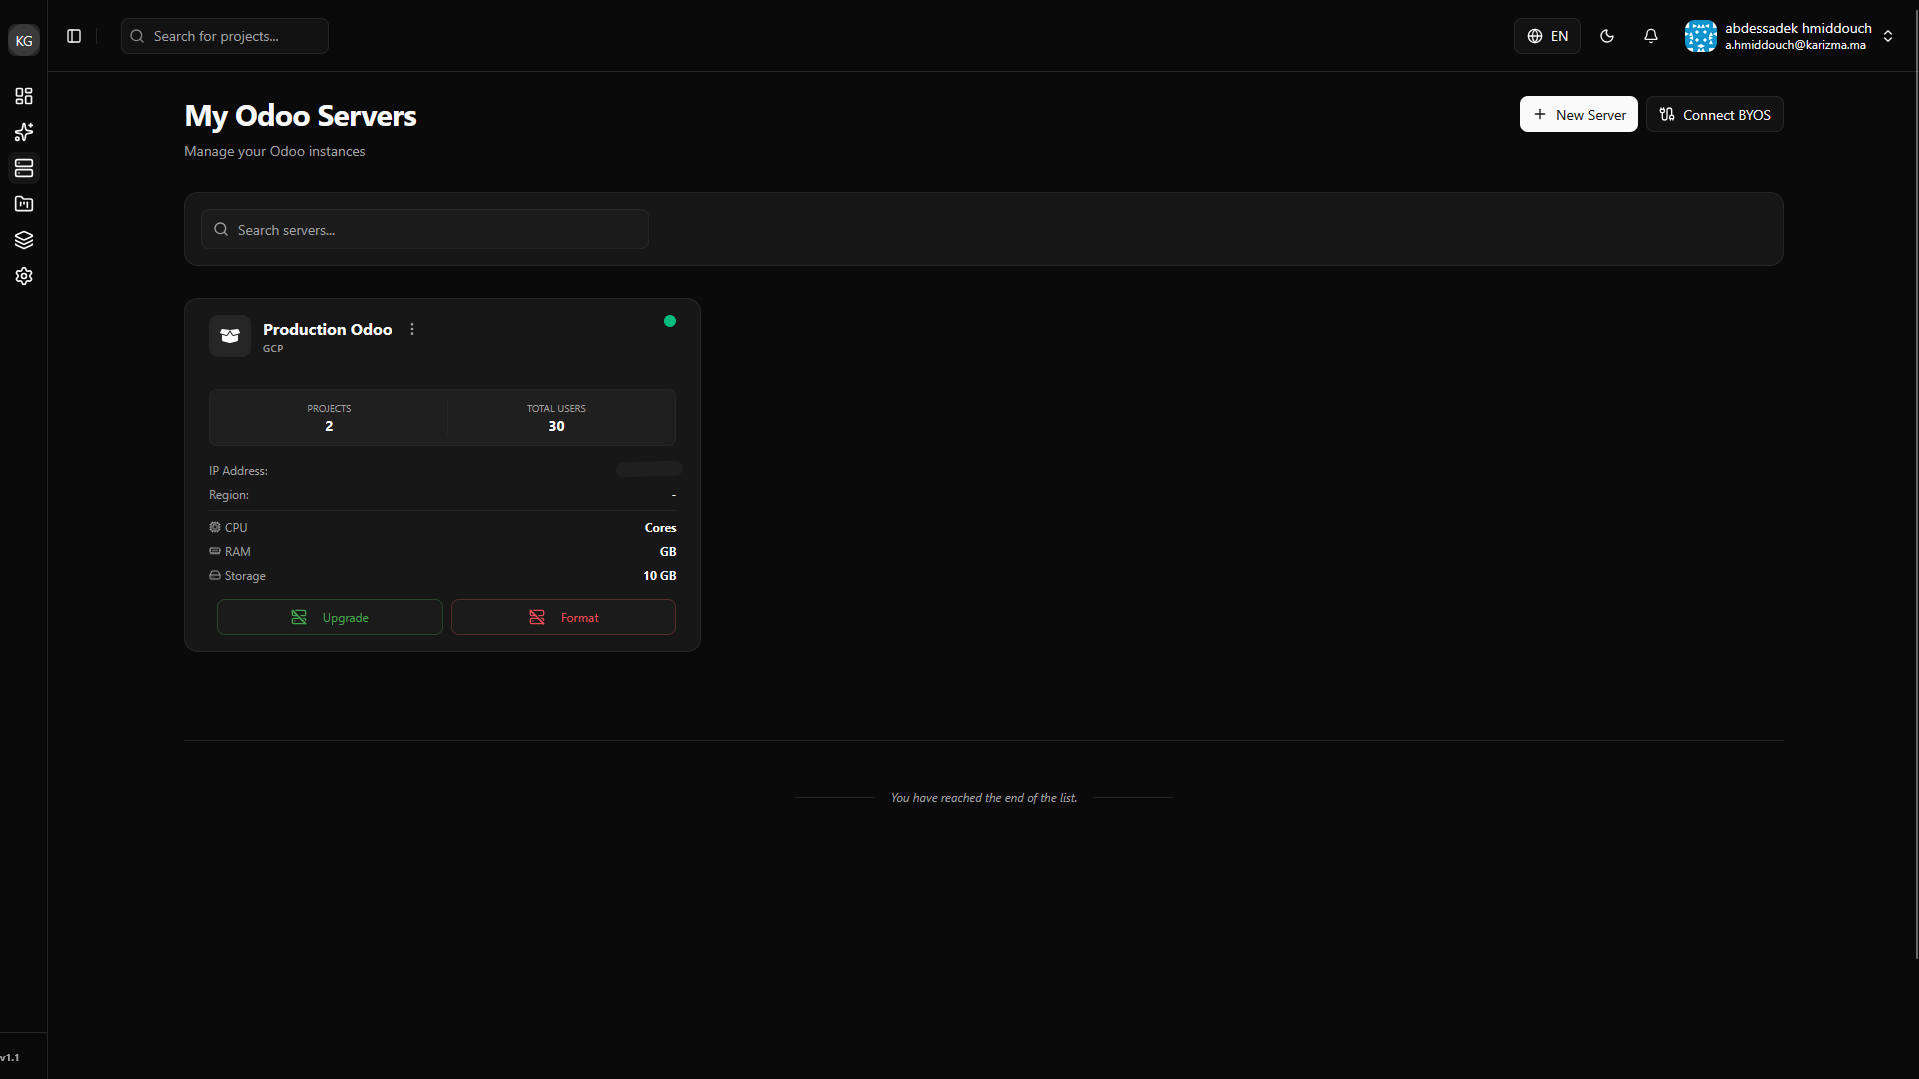
Verify Preparation: Wait a few moments for the installation process to finish. Once complete, check the status to confirm your server is fully prepared and ready for deployments.
2. Deploy Your First Project
Now that our server is created and fully prepared, let's start the magic!
-
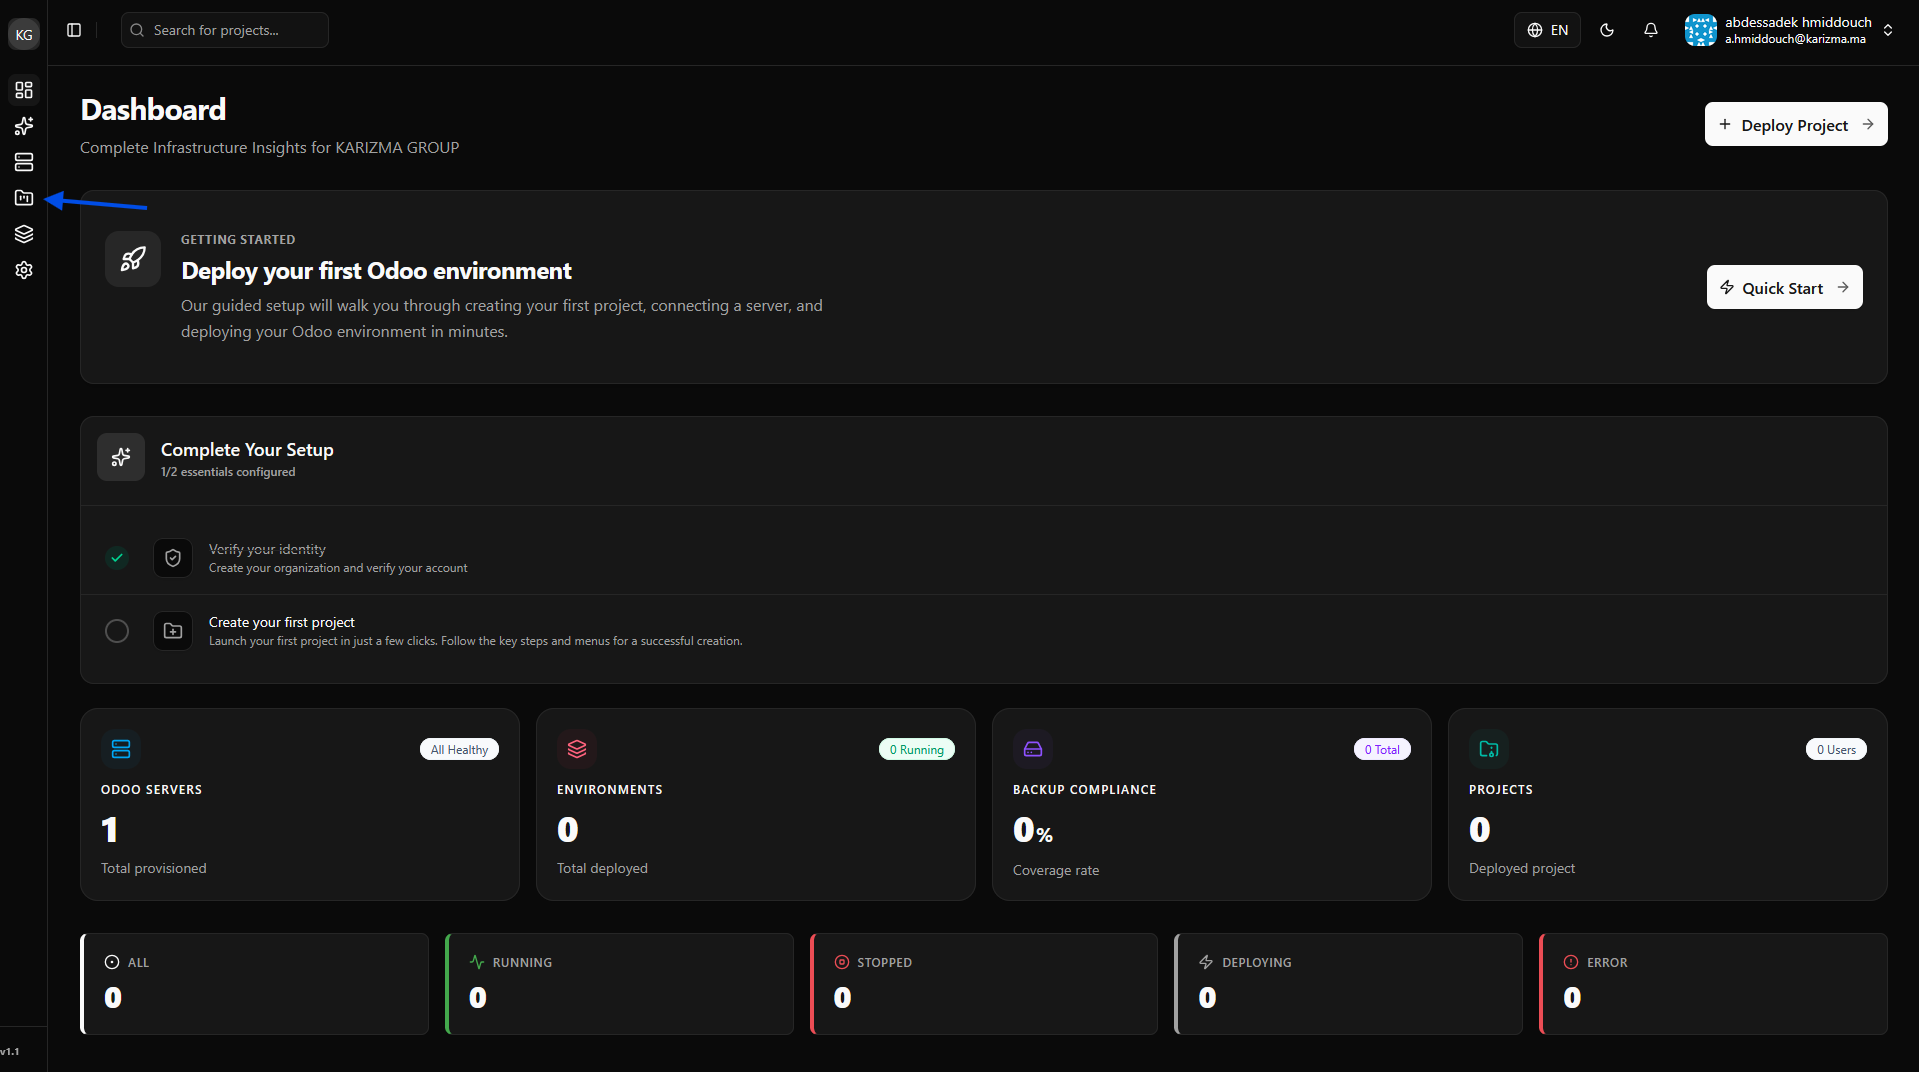
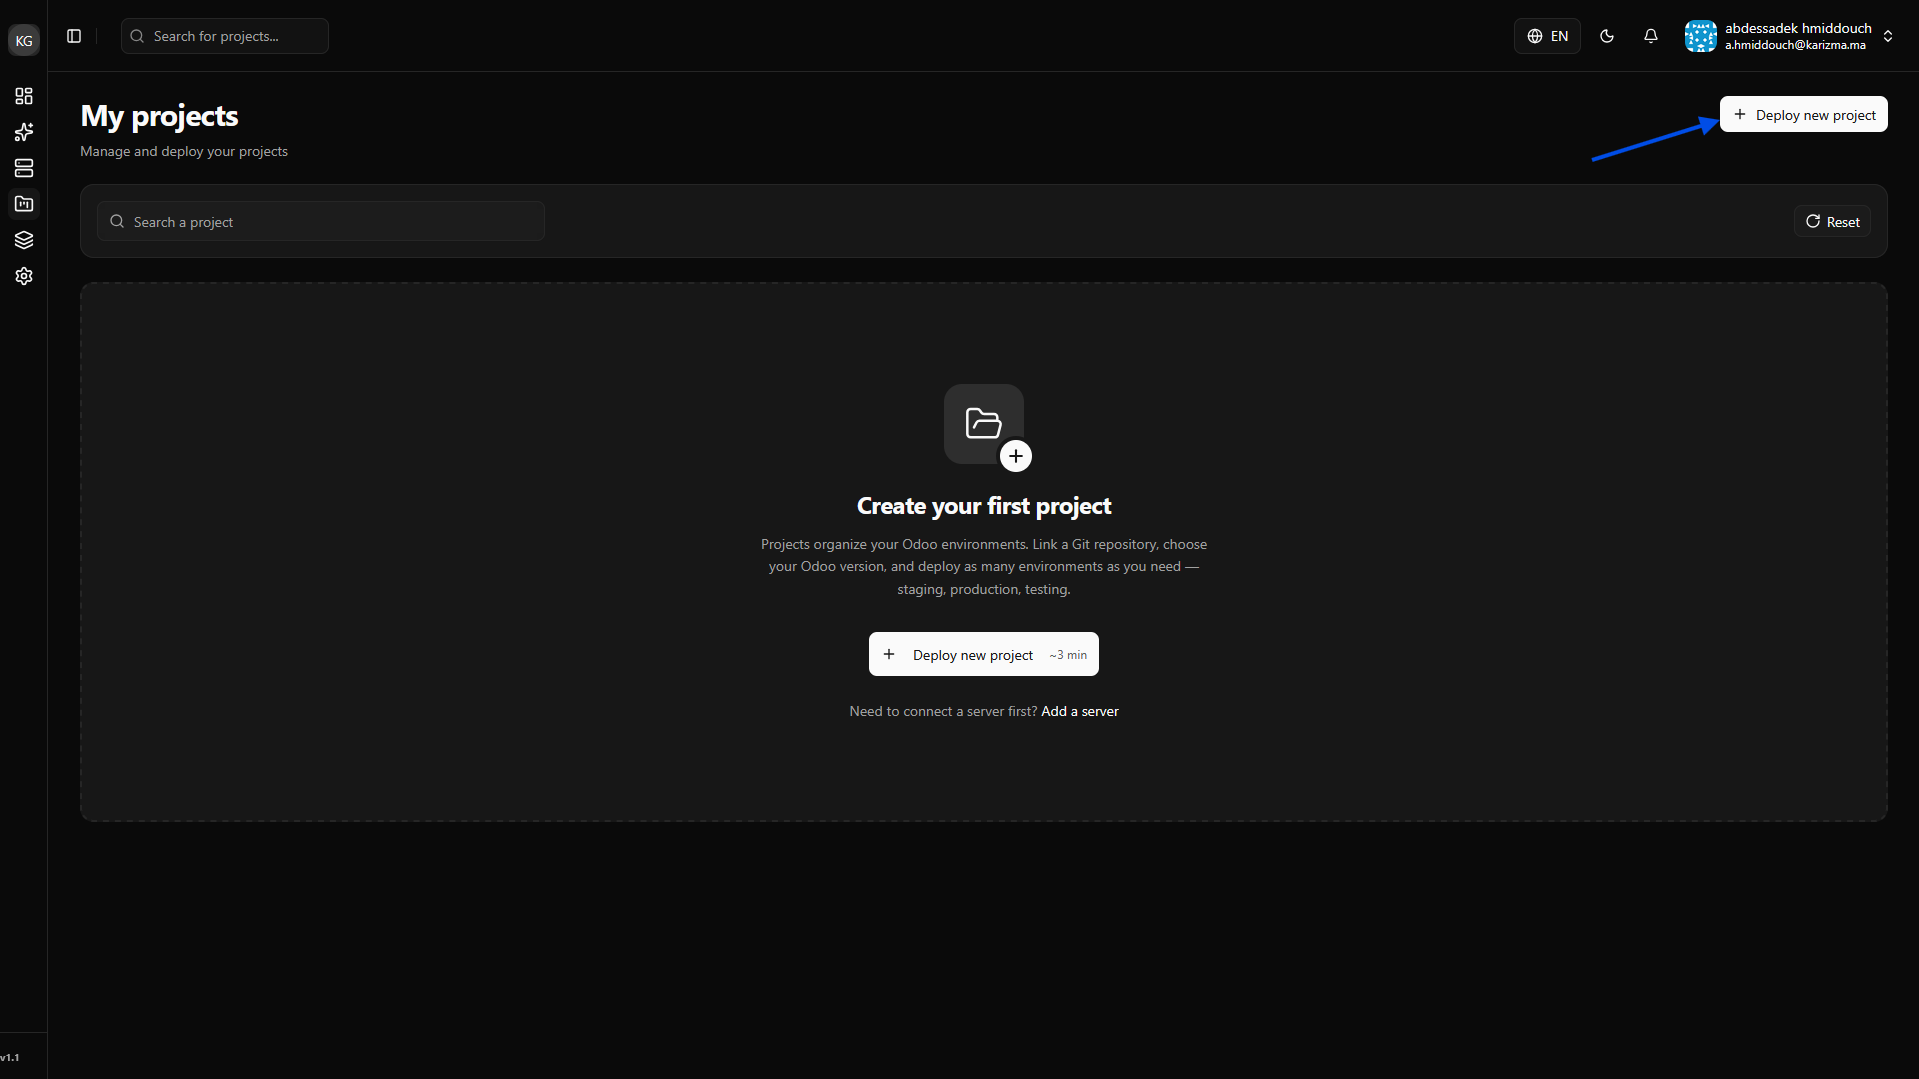
Navigate to Projects: Consult the Projects page from the sidebar menu.
-
Initiate Deployment: Click on the Deploy New Project button.
-
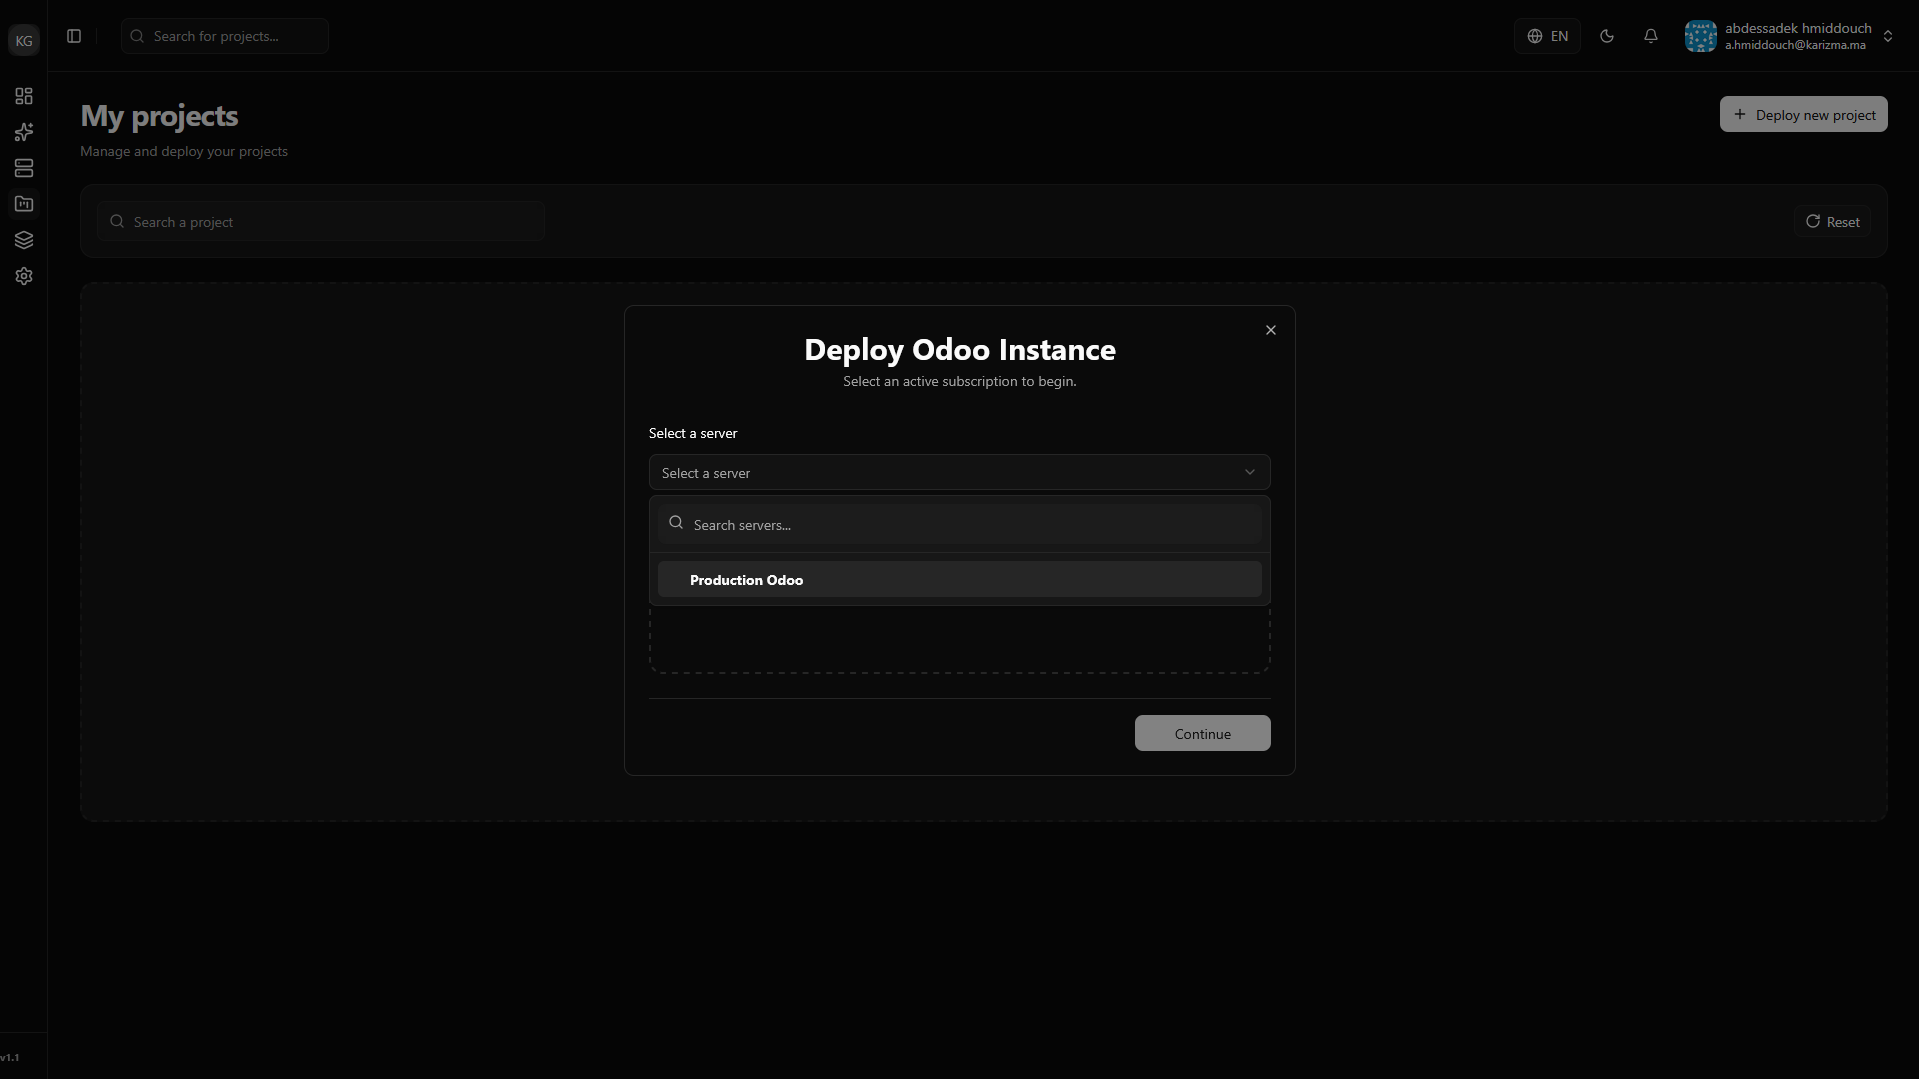
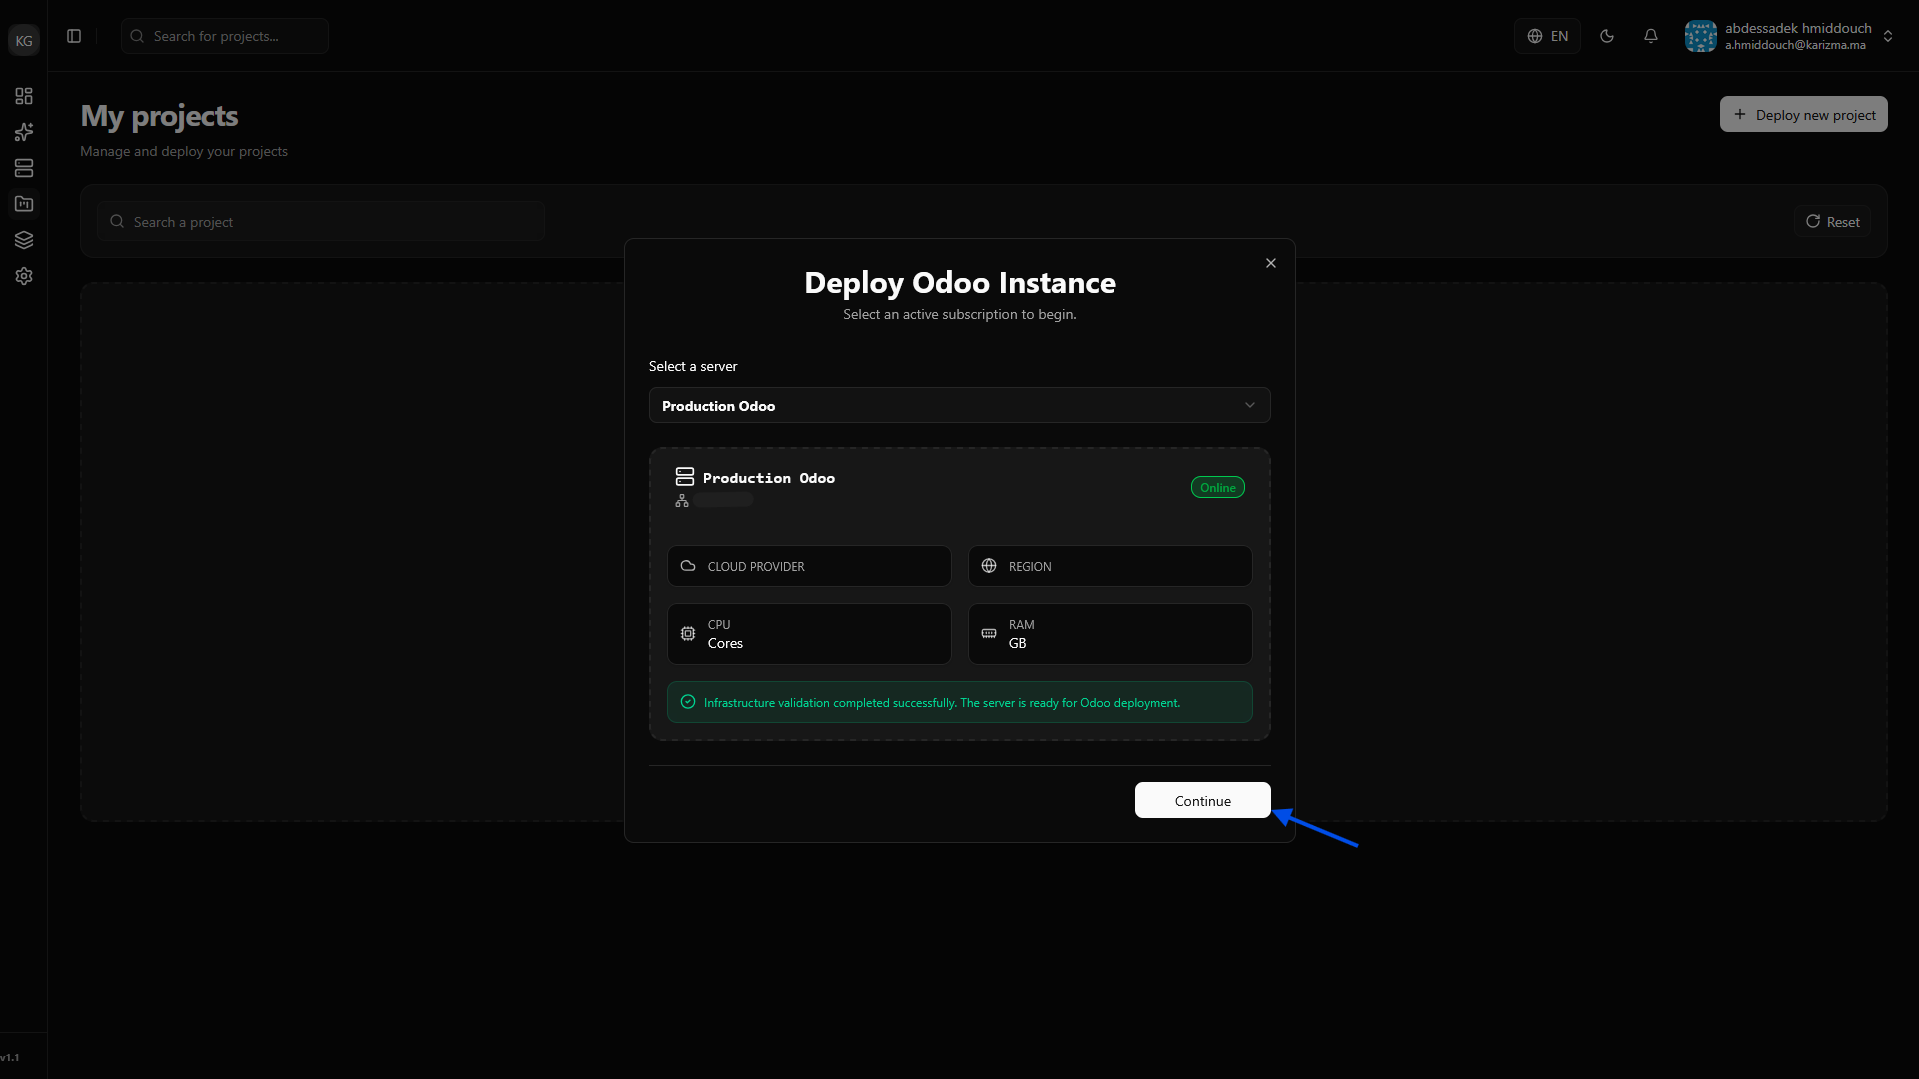
Select Your Server: Choose the server you just prepared as the destination where you want to perform the deployment.
-
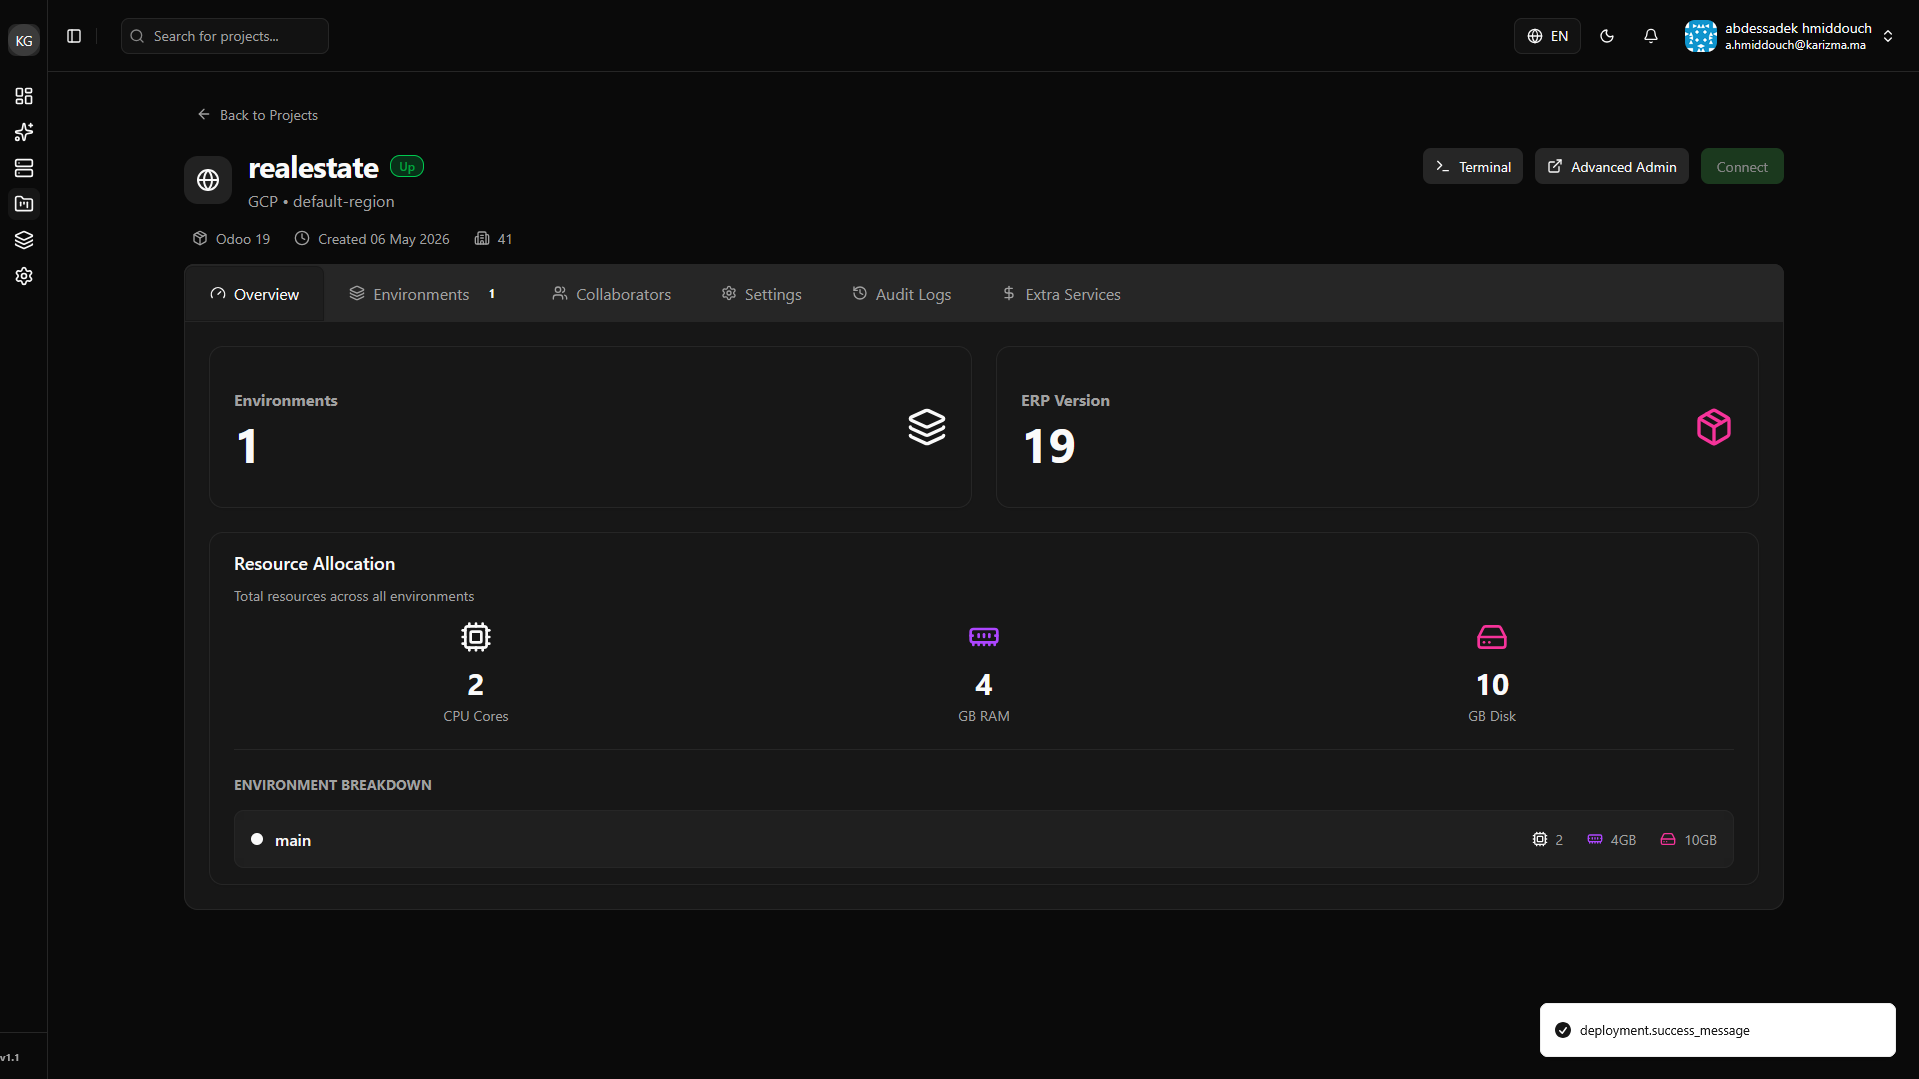
Configure Project Details: Fill in your desired project name, select the specific Odoo Version you need, and choose your preferred Edition (Community or Enterprise).

-
Launch: Submit the form.
🎉 Congratulations! Your project is now successfully deployed on your connected server.
What's Next?
Now that we have successfully deployed our core project, it is time to manage our development workflow and environments.
👉 Let's move on to Branches: Learn how to isolate your changes and manage different versions of your code in the Branch documentation.