Managing Your Organization
In PaaS.sh, an Organization is the top-level entity of your workspace. It acts as the central hub where all your projects, servers, team members, and billing details reside. Before you can deploy your first Odoo instance, you need to establish your Organization.
Creating an Organization
Setting up your Organization is a quick, straightforward process. Follow these steps to get started:
-
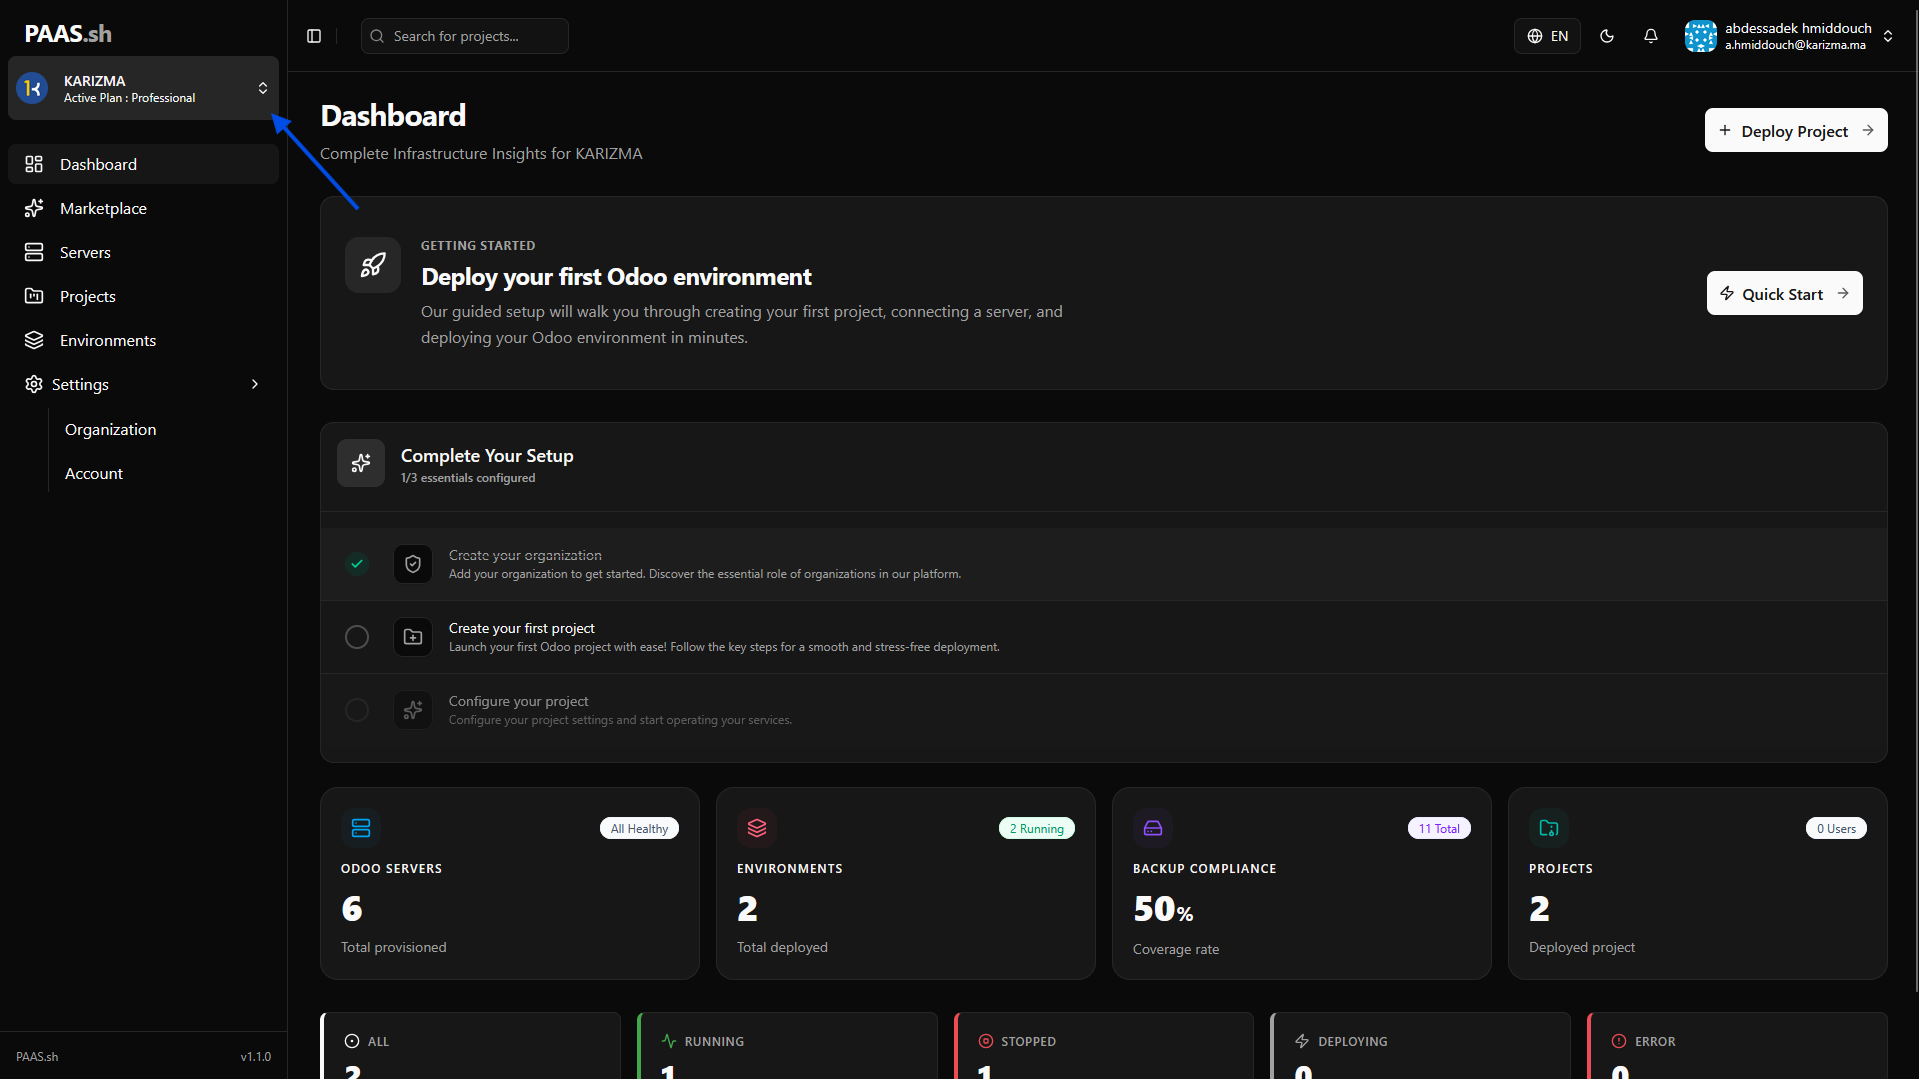
Navigate to the Organization Panel: Log in to your PaaS.sh dashboard. On the left-hand sidebar, locate and click on the Organization tab.
-
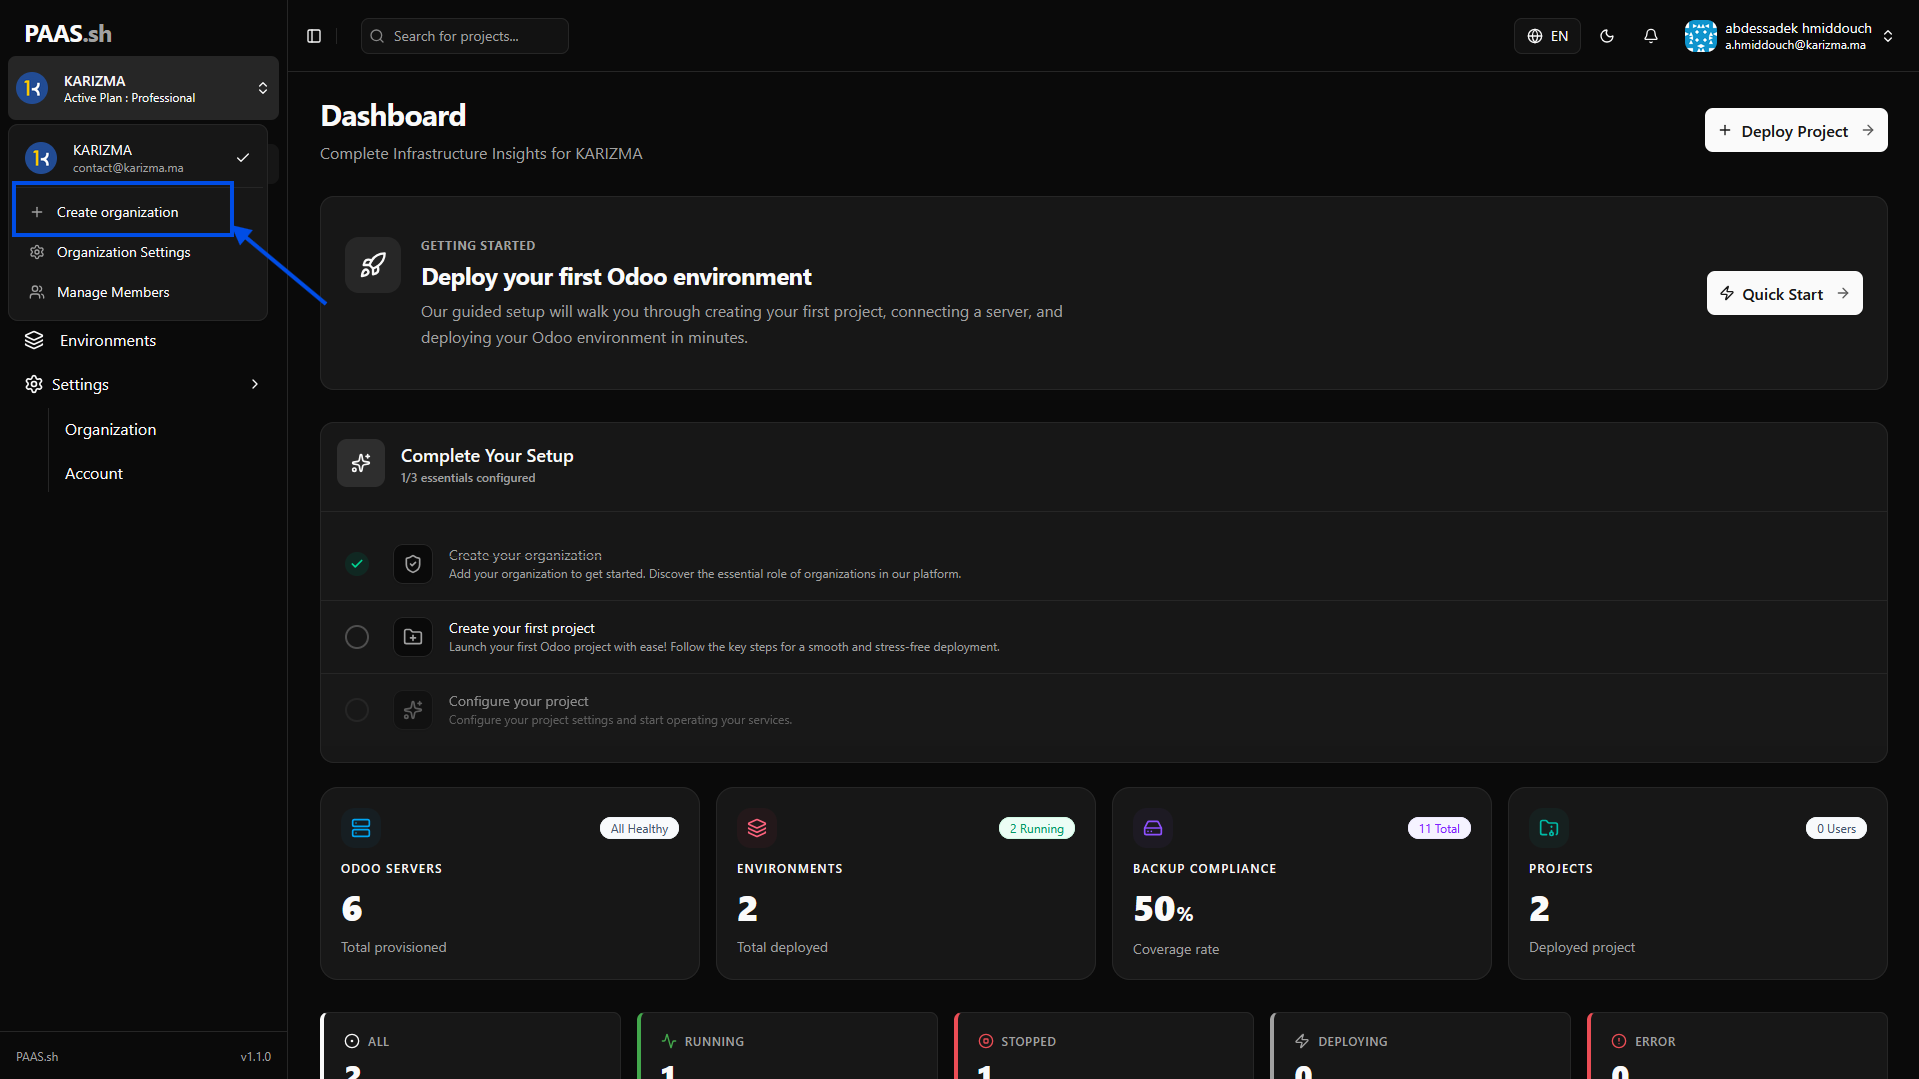
Initiate Creation: In the Organization panel, click the prominent Create Organization button.
-
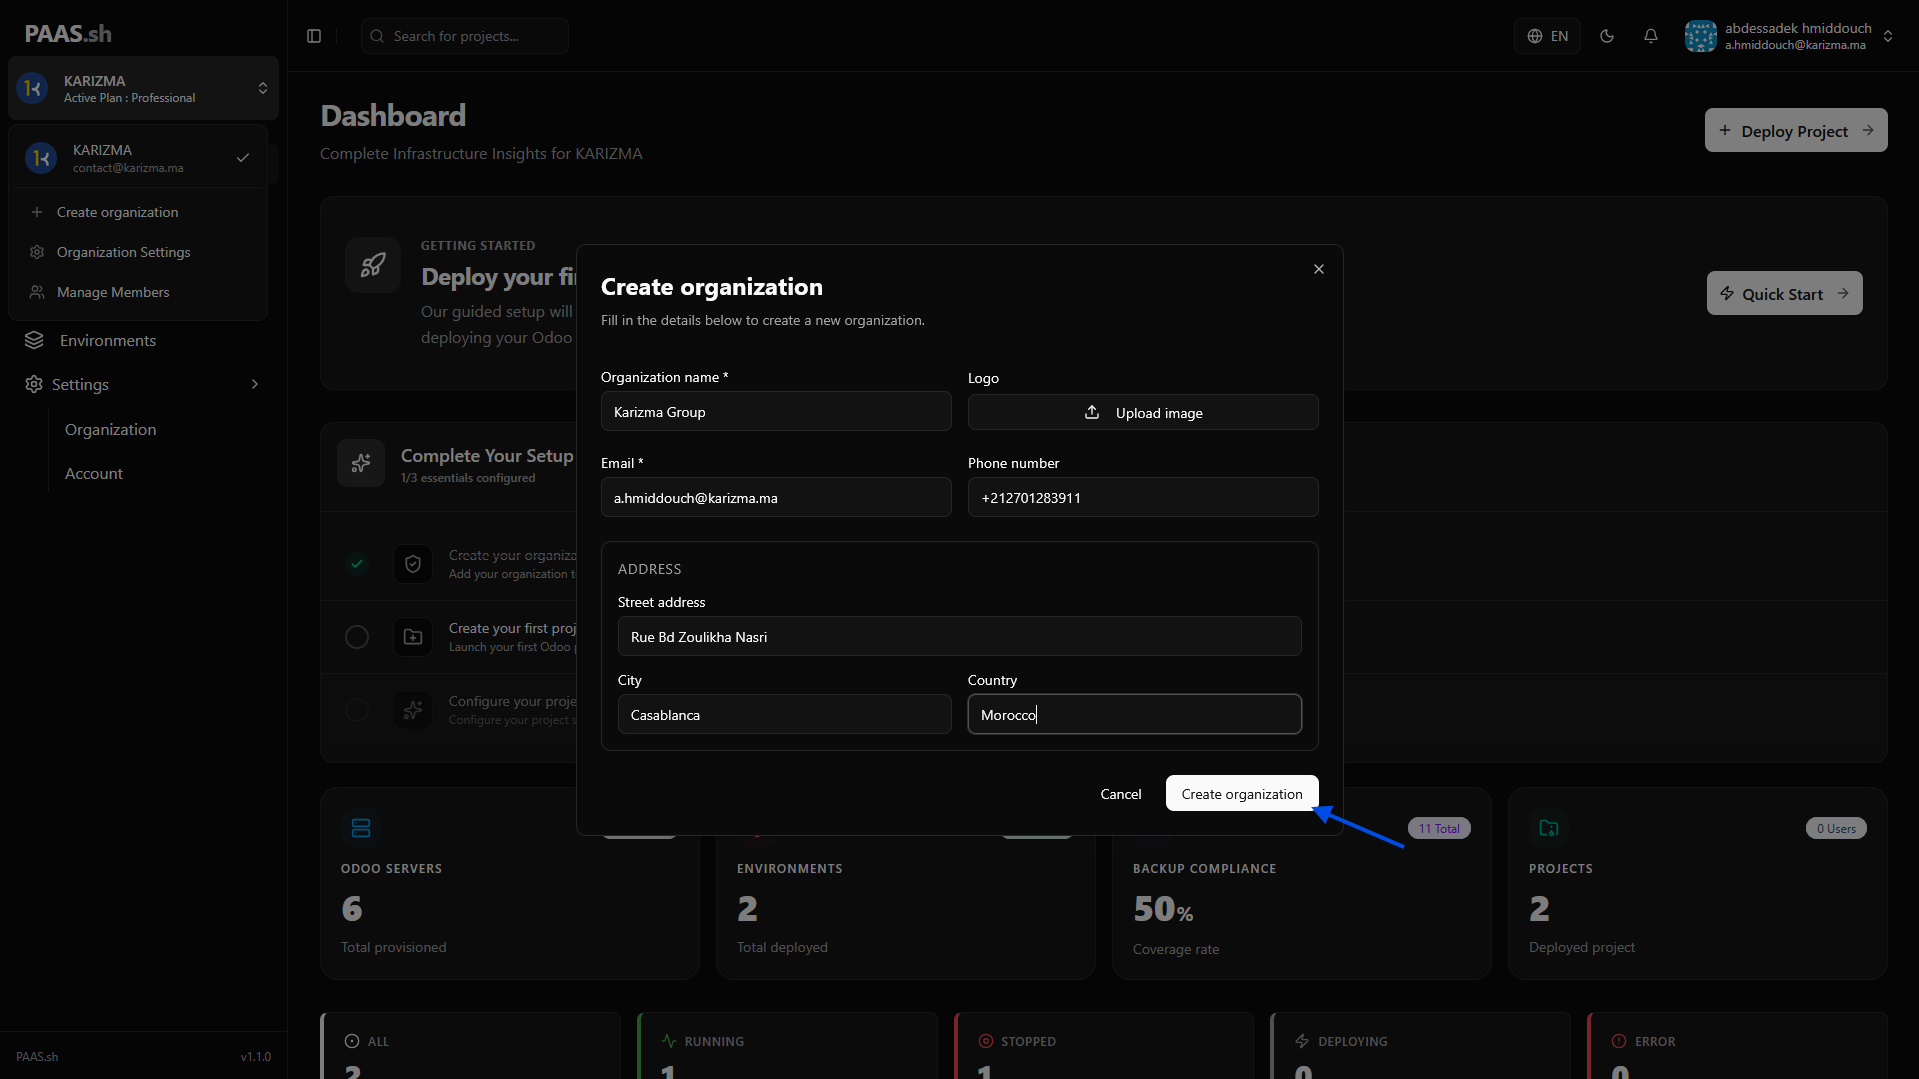
Fill in the Details: A setup form will appear. Enter your Organization's name and any other required billing or profile information, then click Submit to finalize the creation.
-
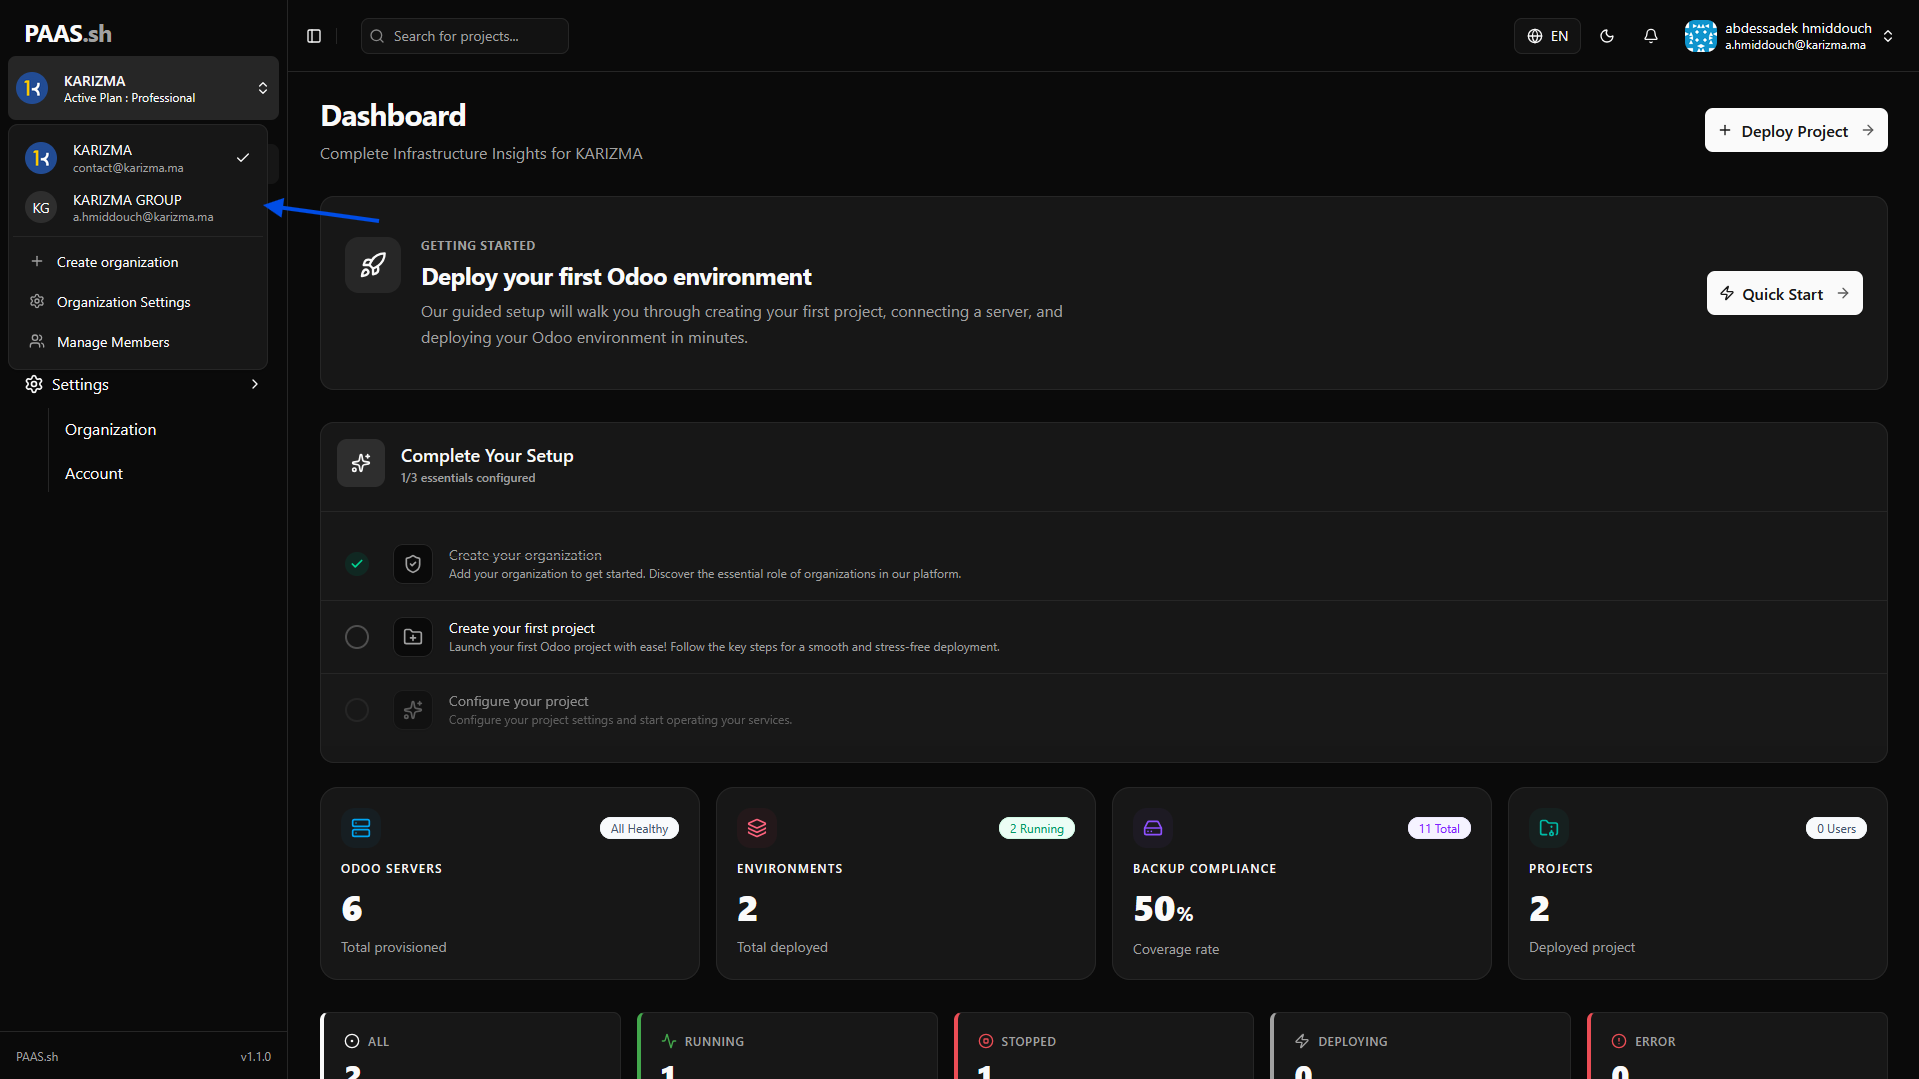
Verify Your Workspace: Once submitted, you will be redirected back to the Organization panel where your newly created Organization will now be visible and active.
To ensure fair resource allocation, each user account is currently permitted to create a maximum of one (1) Organization. However, you can be invited to join multiple other organizations as a team member.
Inviting Team Members
The Organization module allows you to manage your team efficiently. Inviting members is a key step in collaborating on your Odoo projects.
-
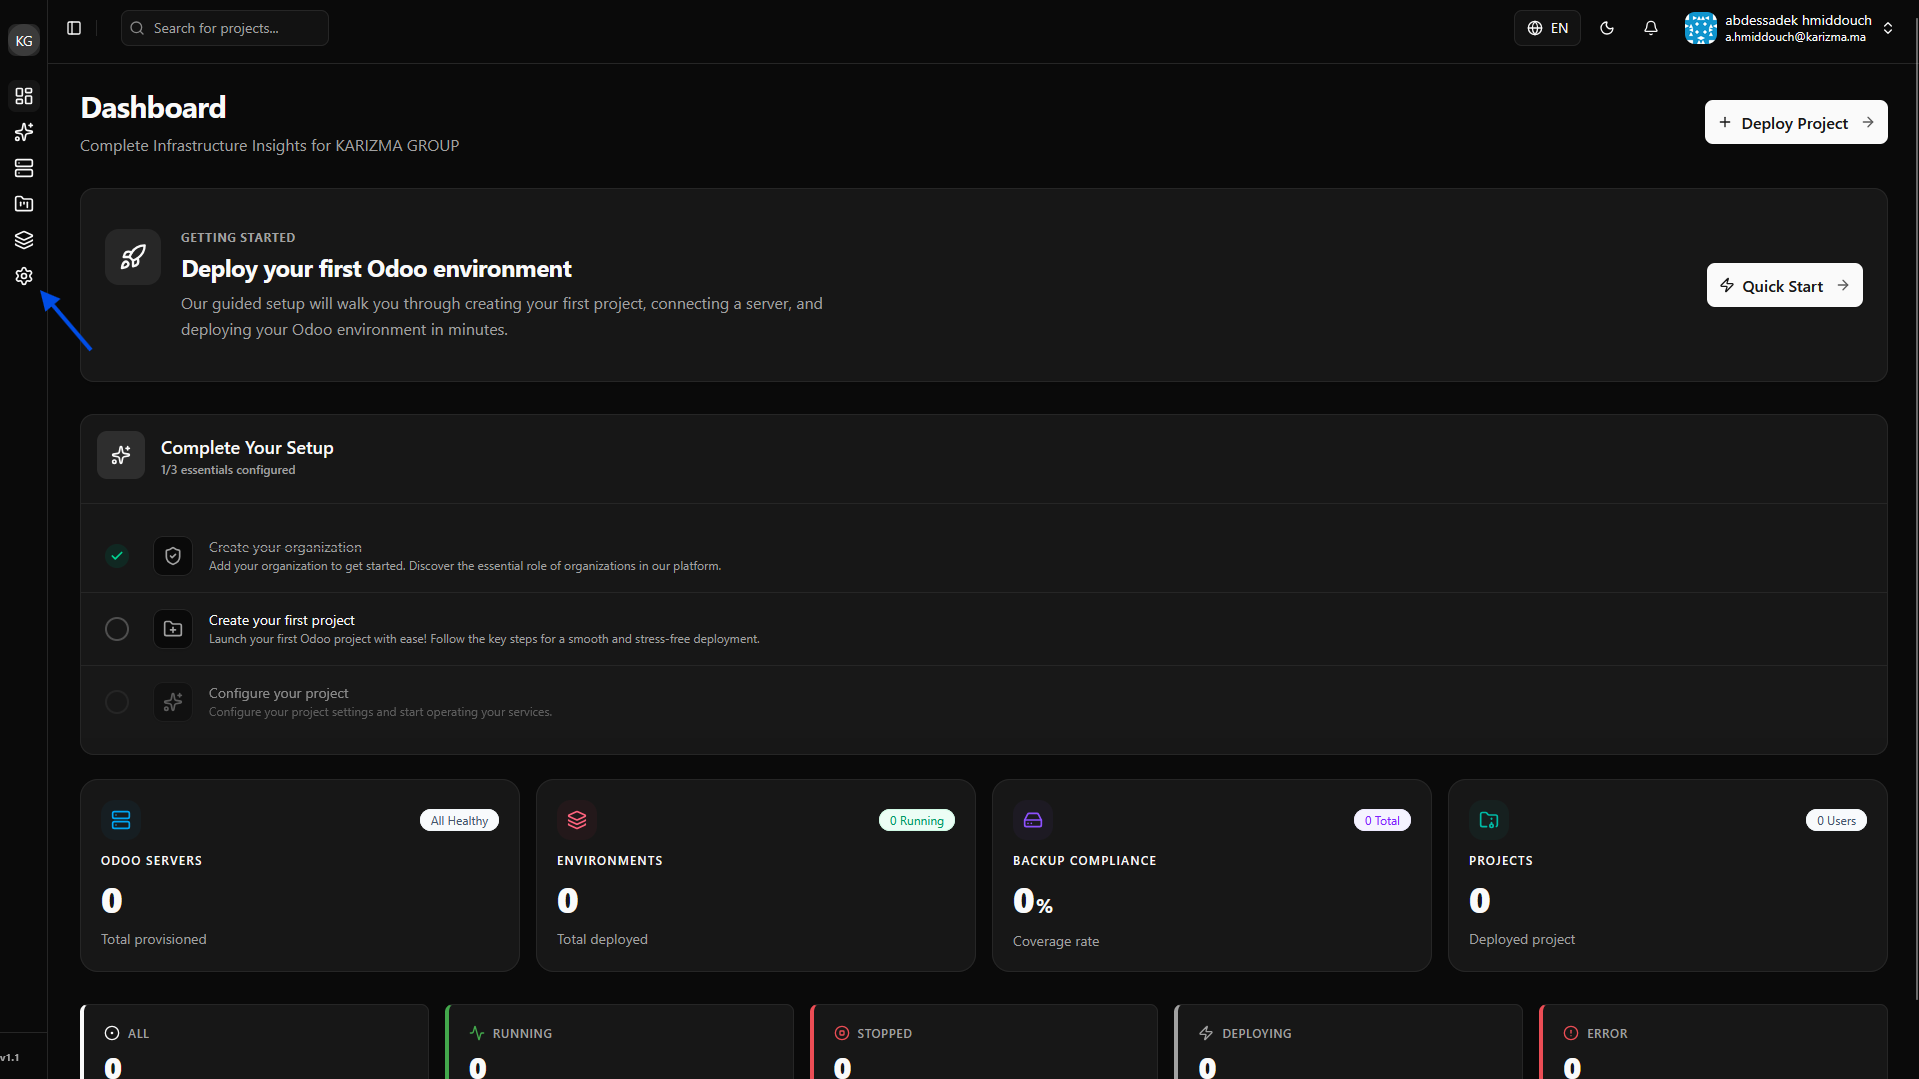
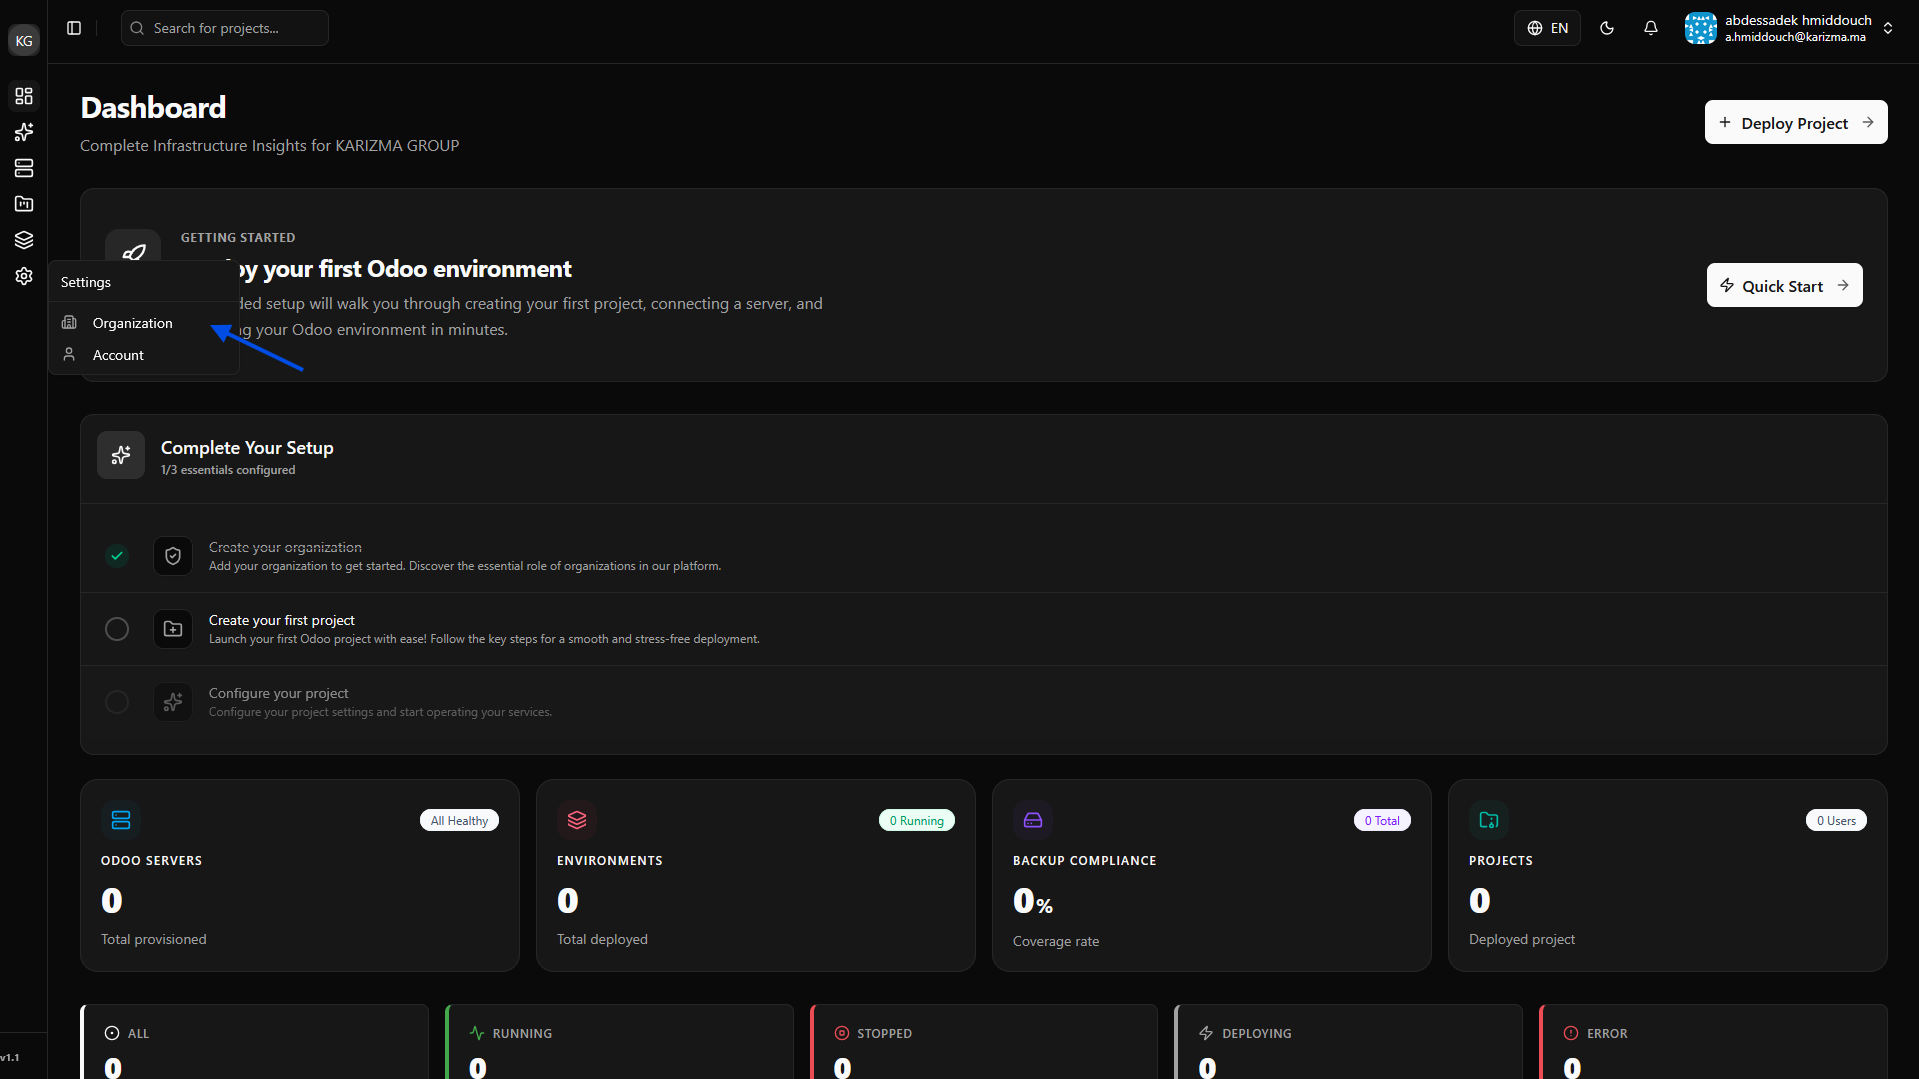
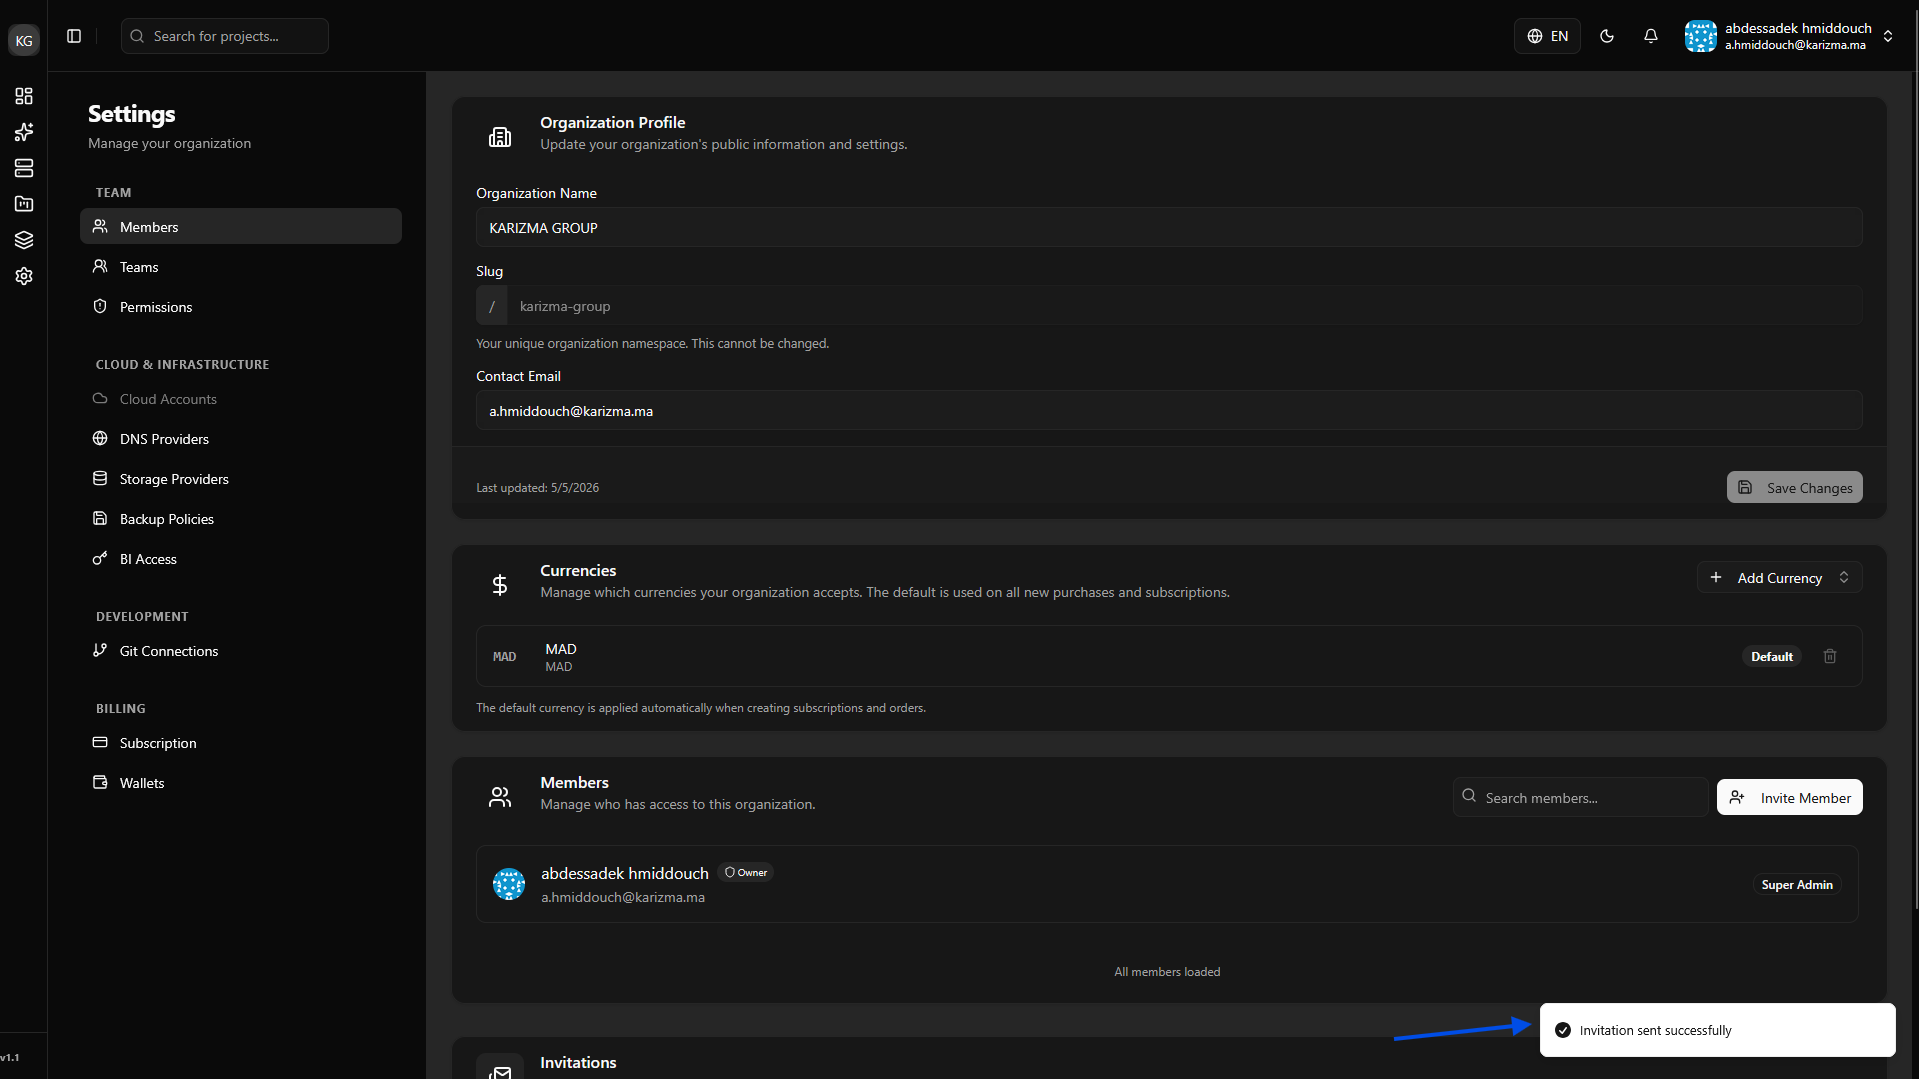
Open Settings: Click on the Gear Icon in the navigation bar.
-
Select Organization Settings: Click on the Organization Settings button.
-
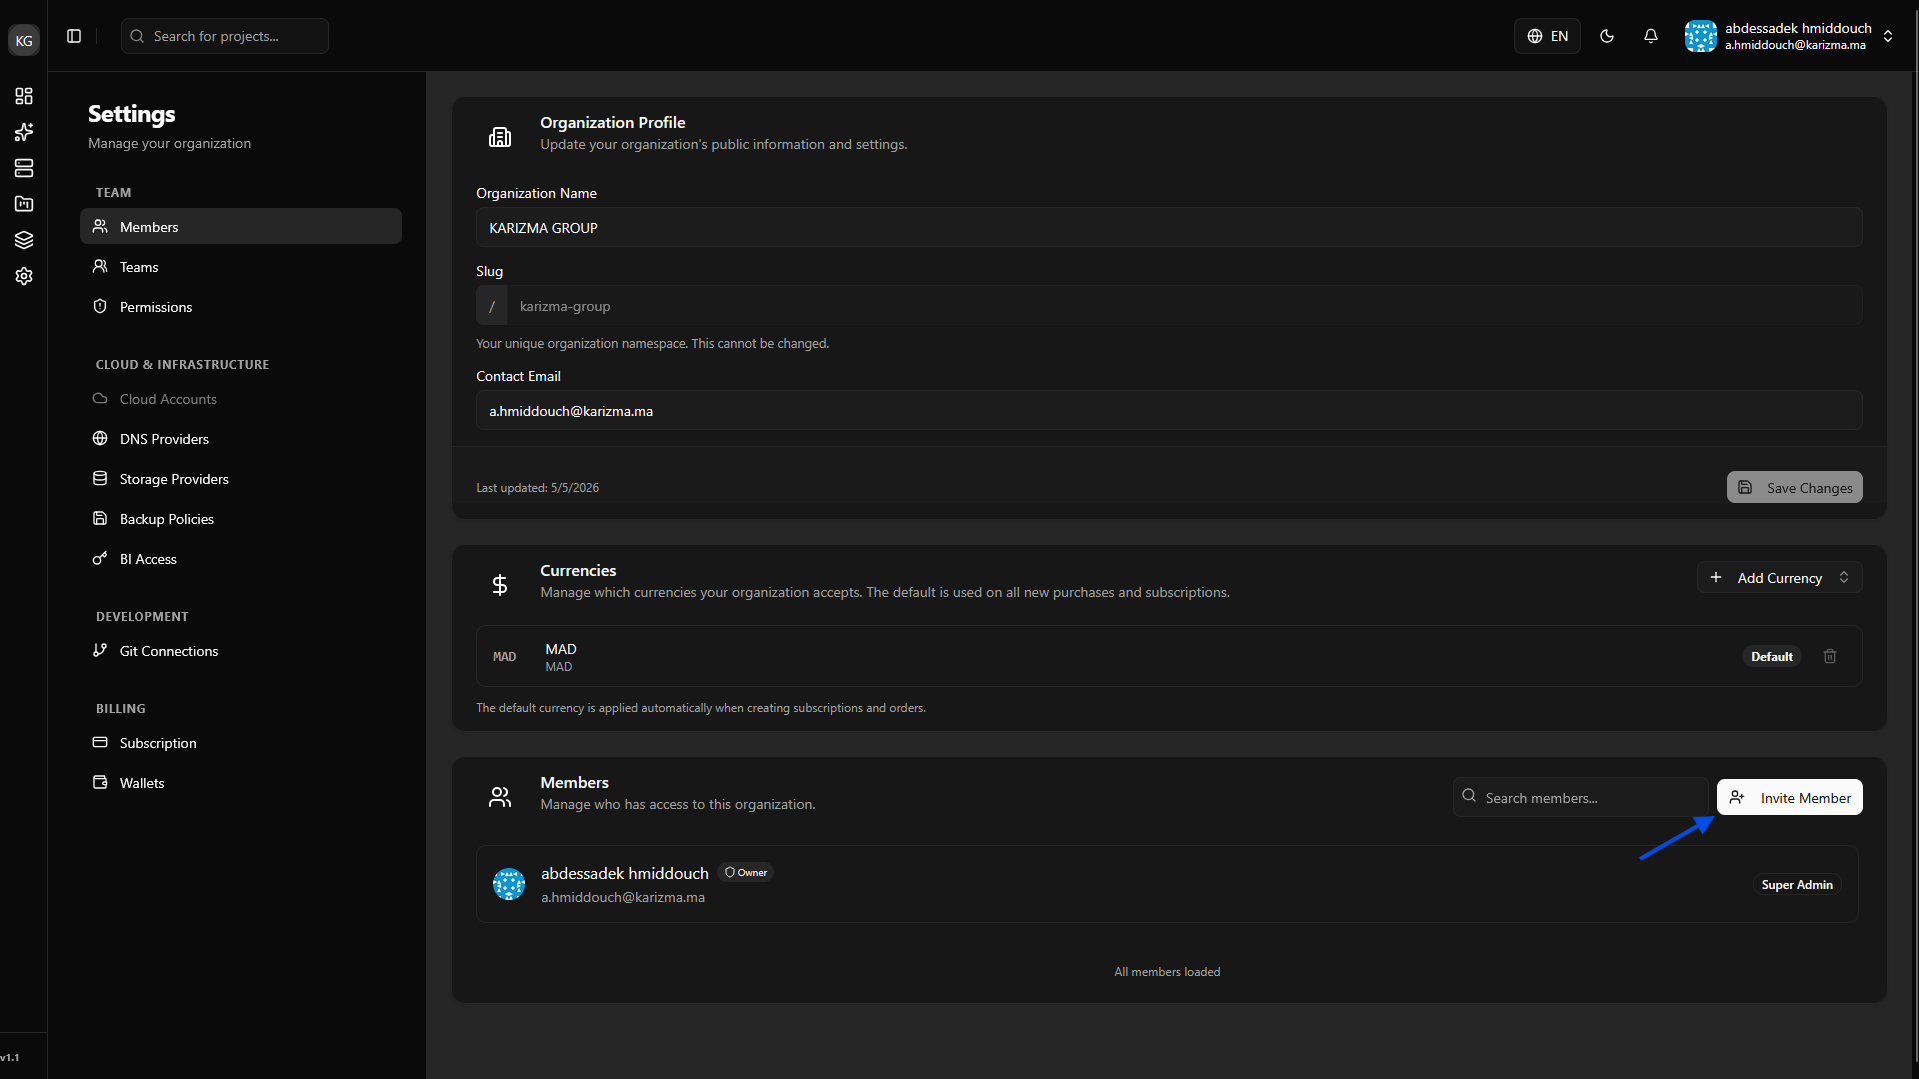
Navigate to Members: Click the Invite Members button.
-
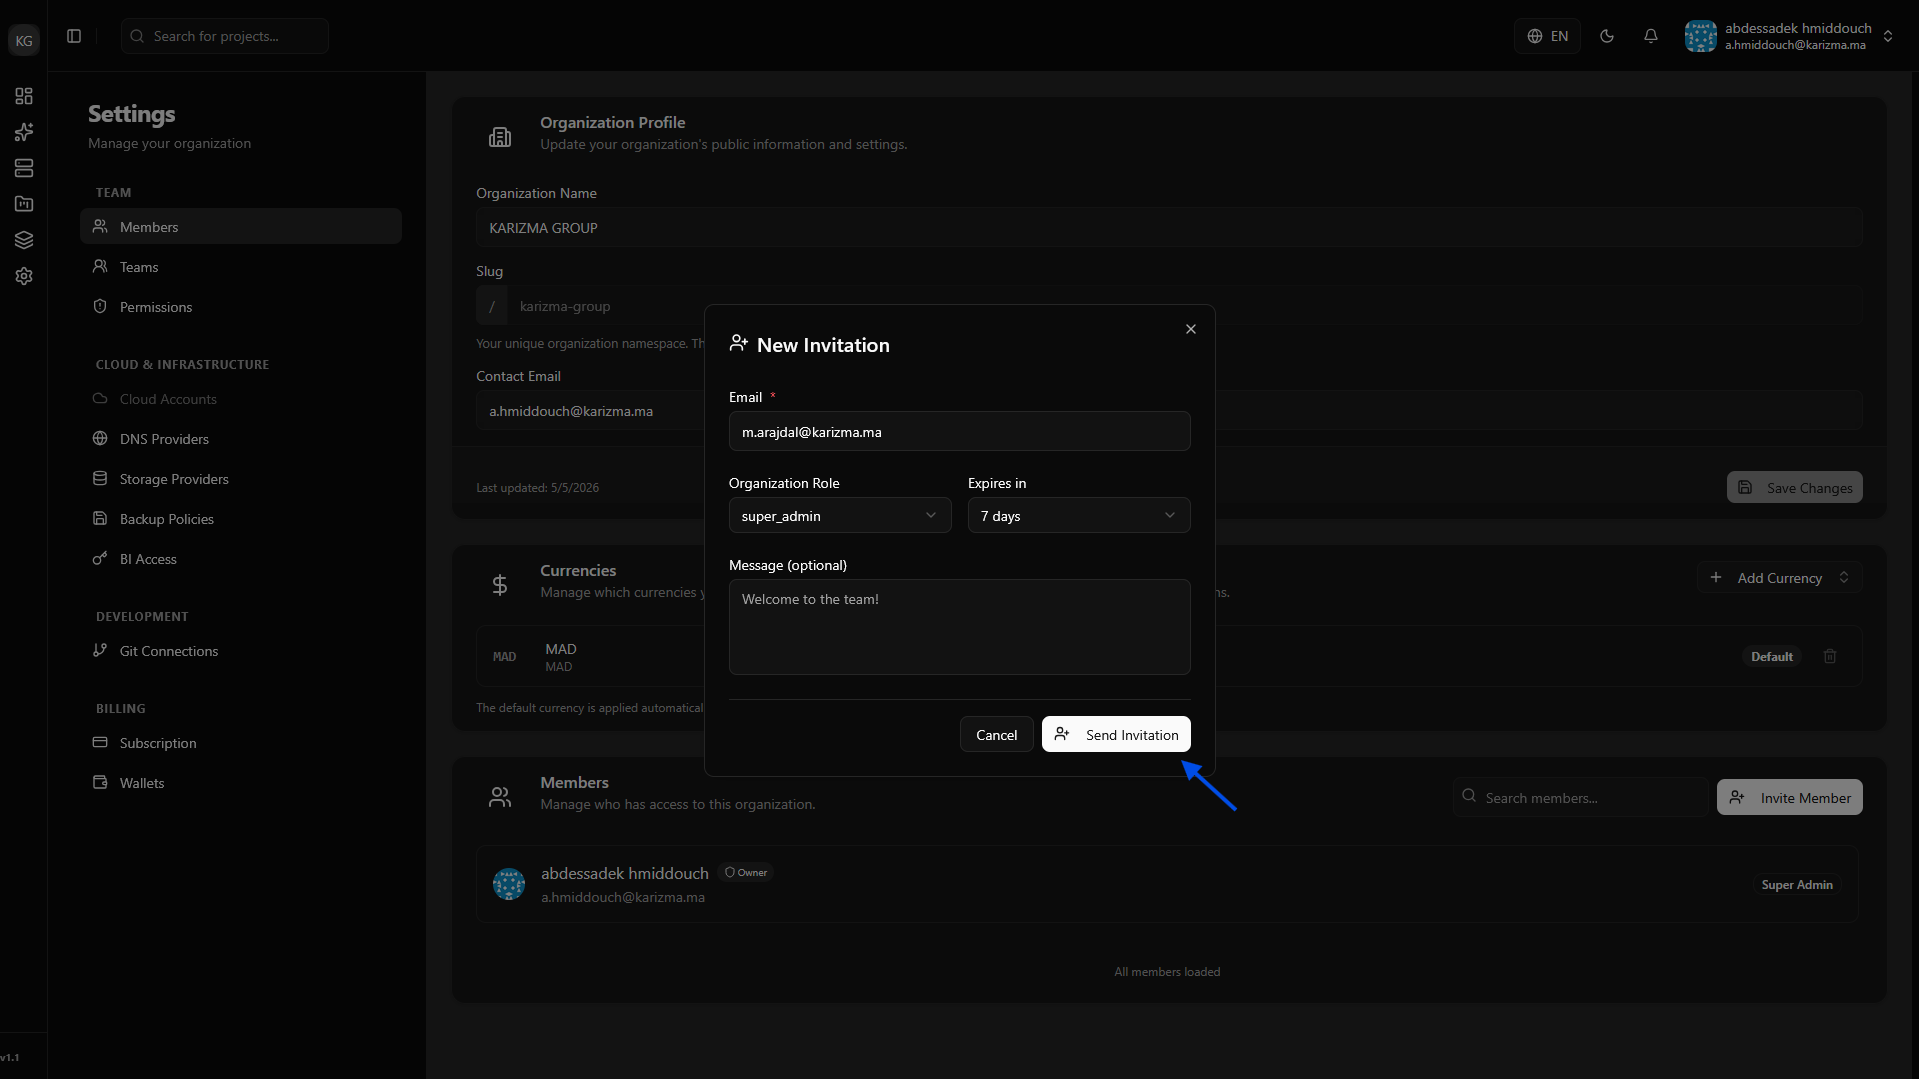
Complete the Invitation Dialog: Enter the member's email and select their role.
 Understanding Roles
The Role is what defines exactly which permissions a member will have within your organization (e.g., ability to delete projects, manage billing, or just view logs).
Hierarchy Rule: You cannot assign a role to a member that grants more permissions than your own. For example, if you are a "Developer," you cannot invite another user as an "Admin."
-
Confirmation: After clicking submit, a success toast message will confirm the invitation is on its way.
-
Track Invitations: You can monitor all sent invitations in the box at the bottom of the page.
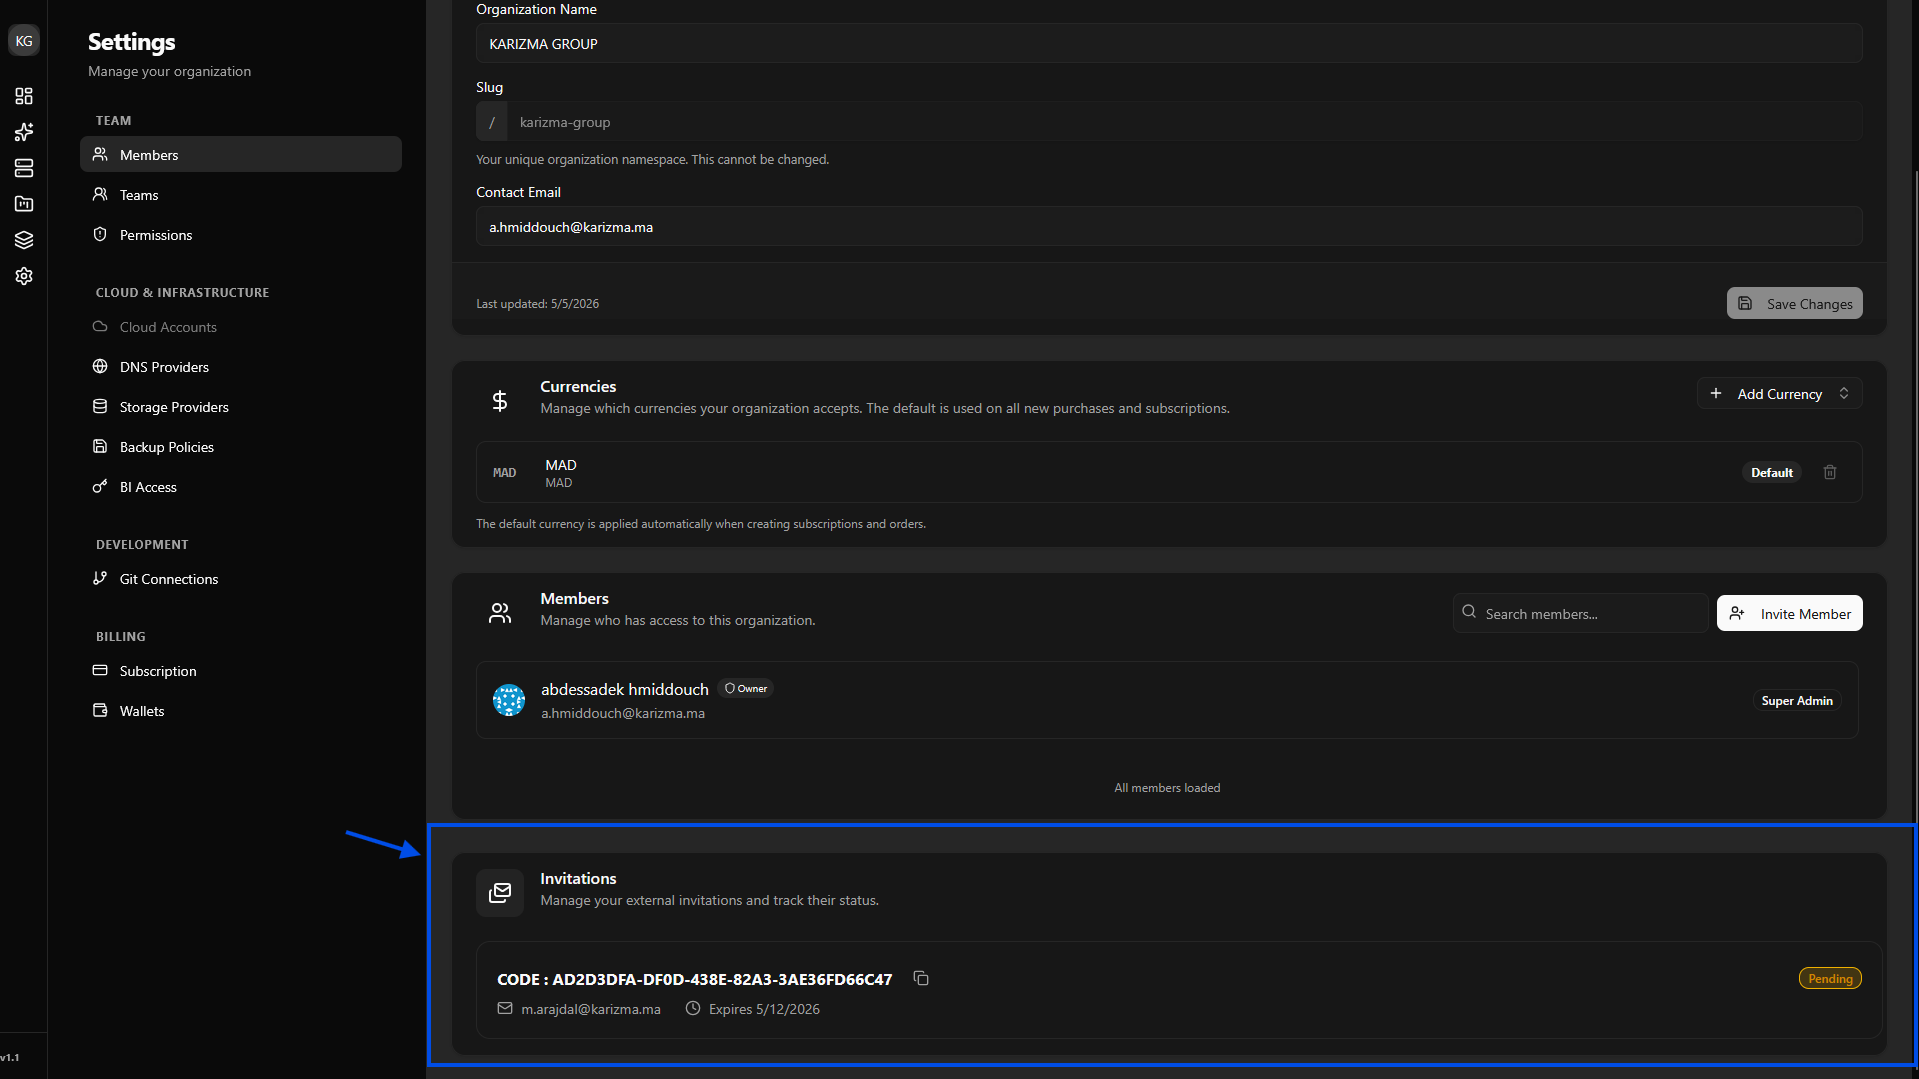
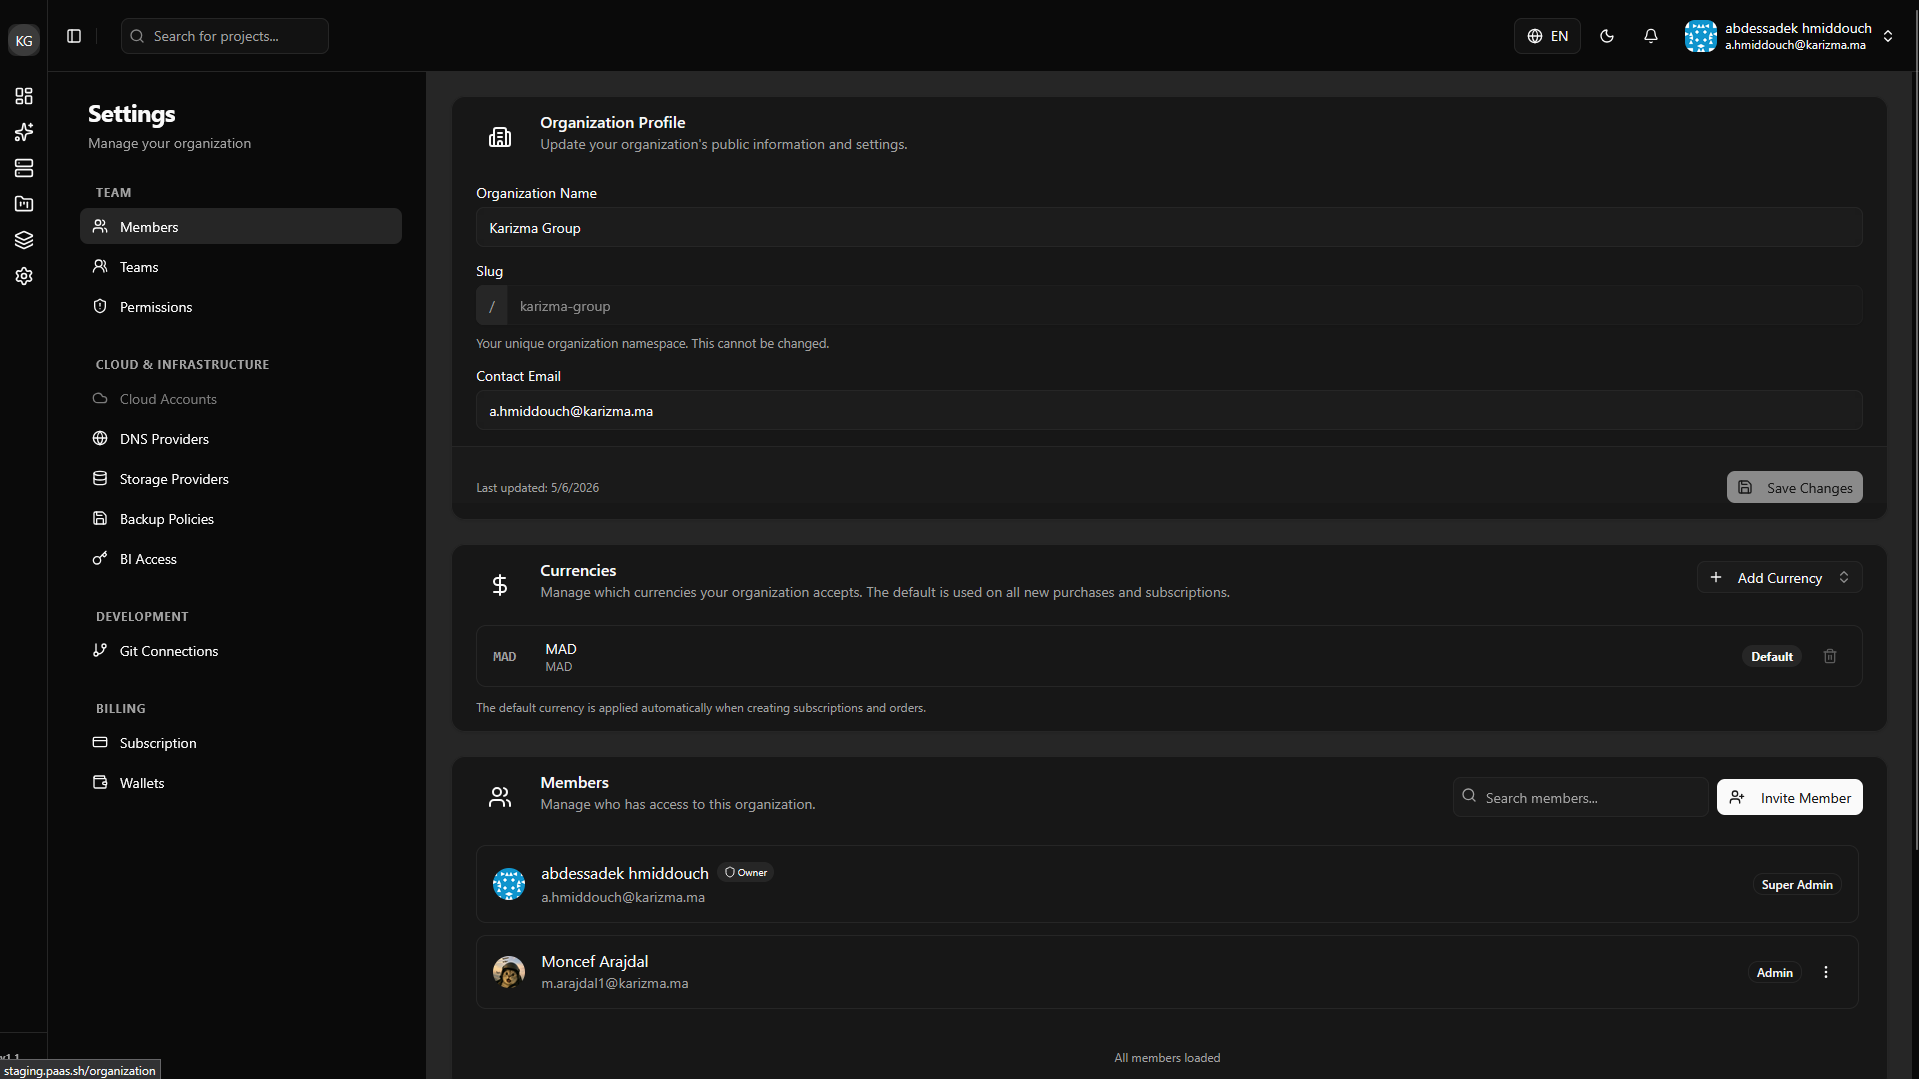
Once the user accepts the invitation, they will be automatically joined to the organization and appear in your active members list.
What's Next?
Now that your organization is set up and your team is ready, it's time to create the environment for your Odoo app.